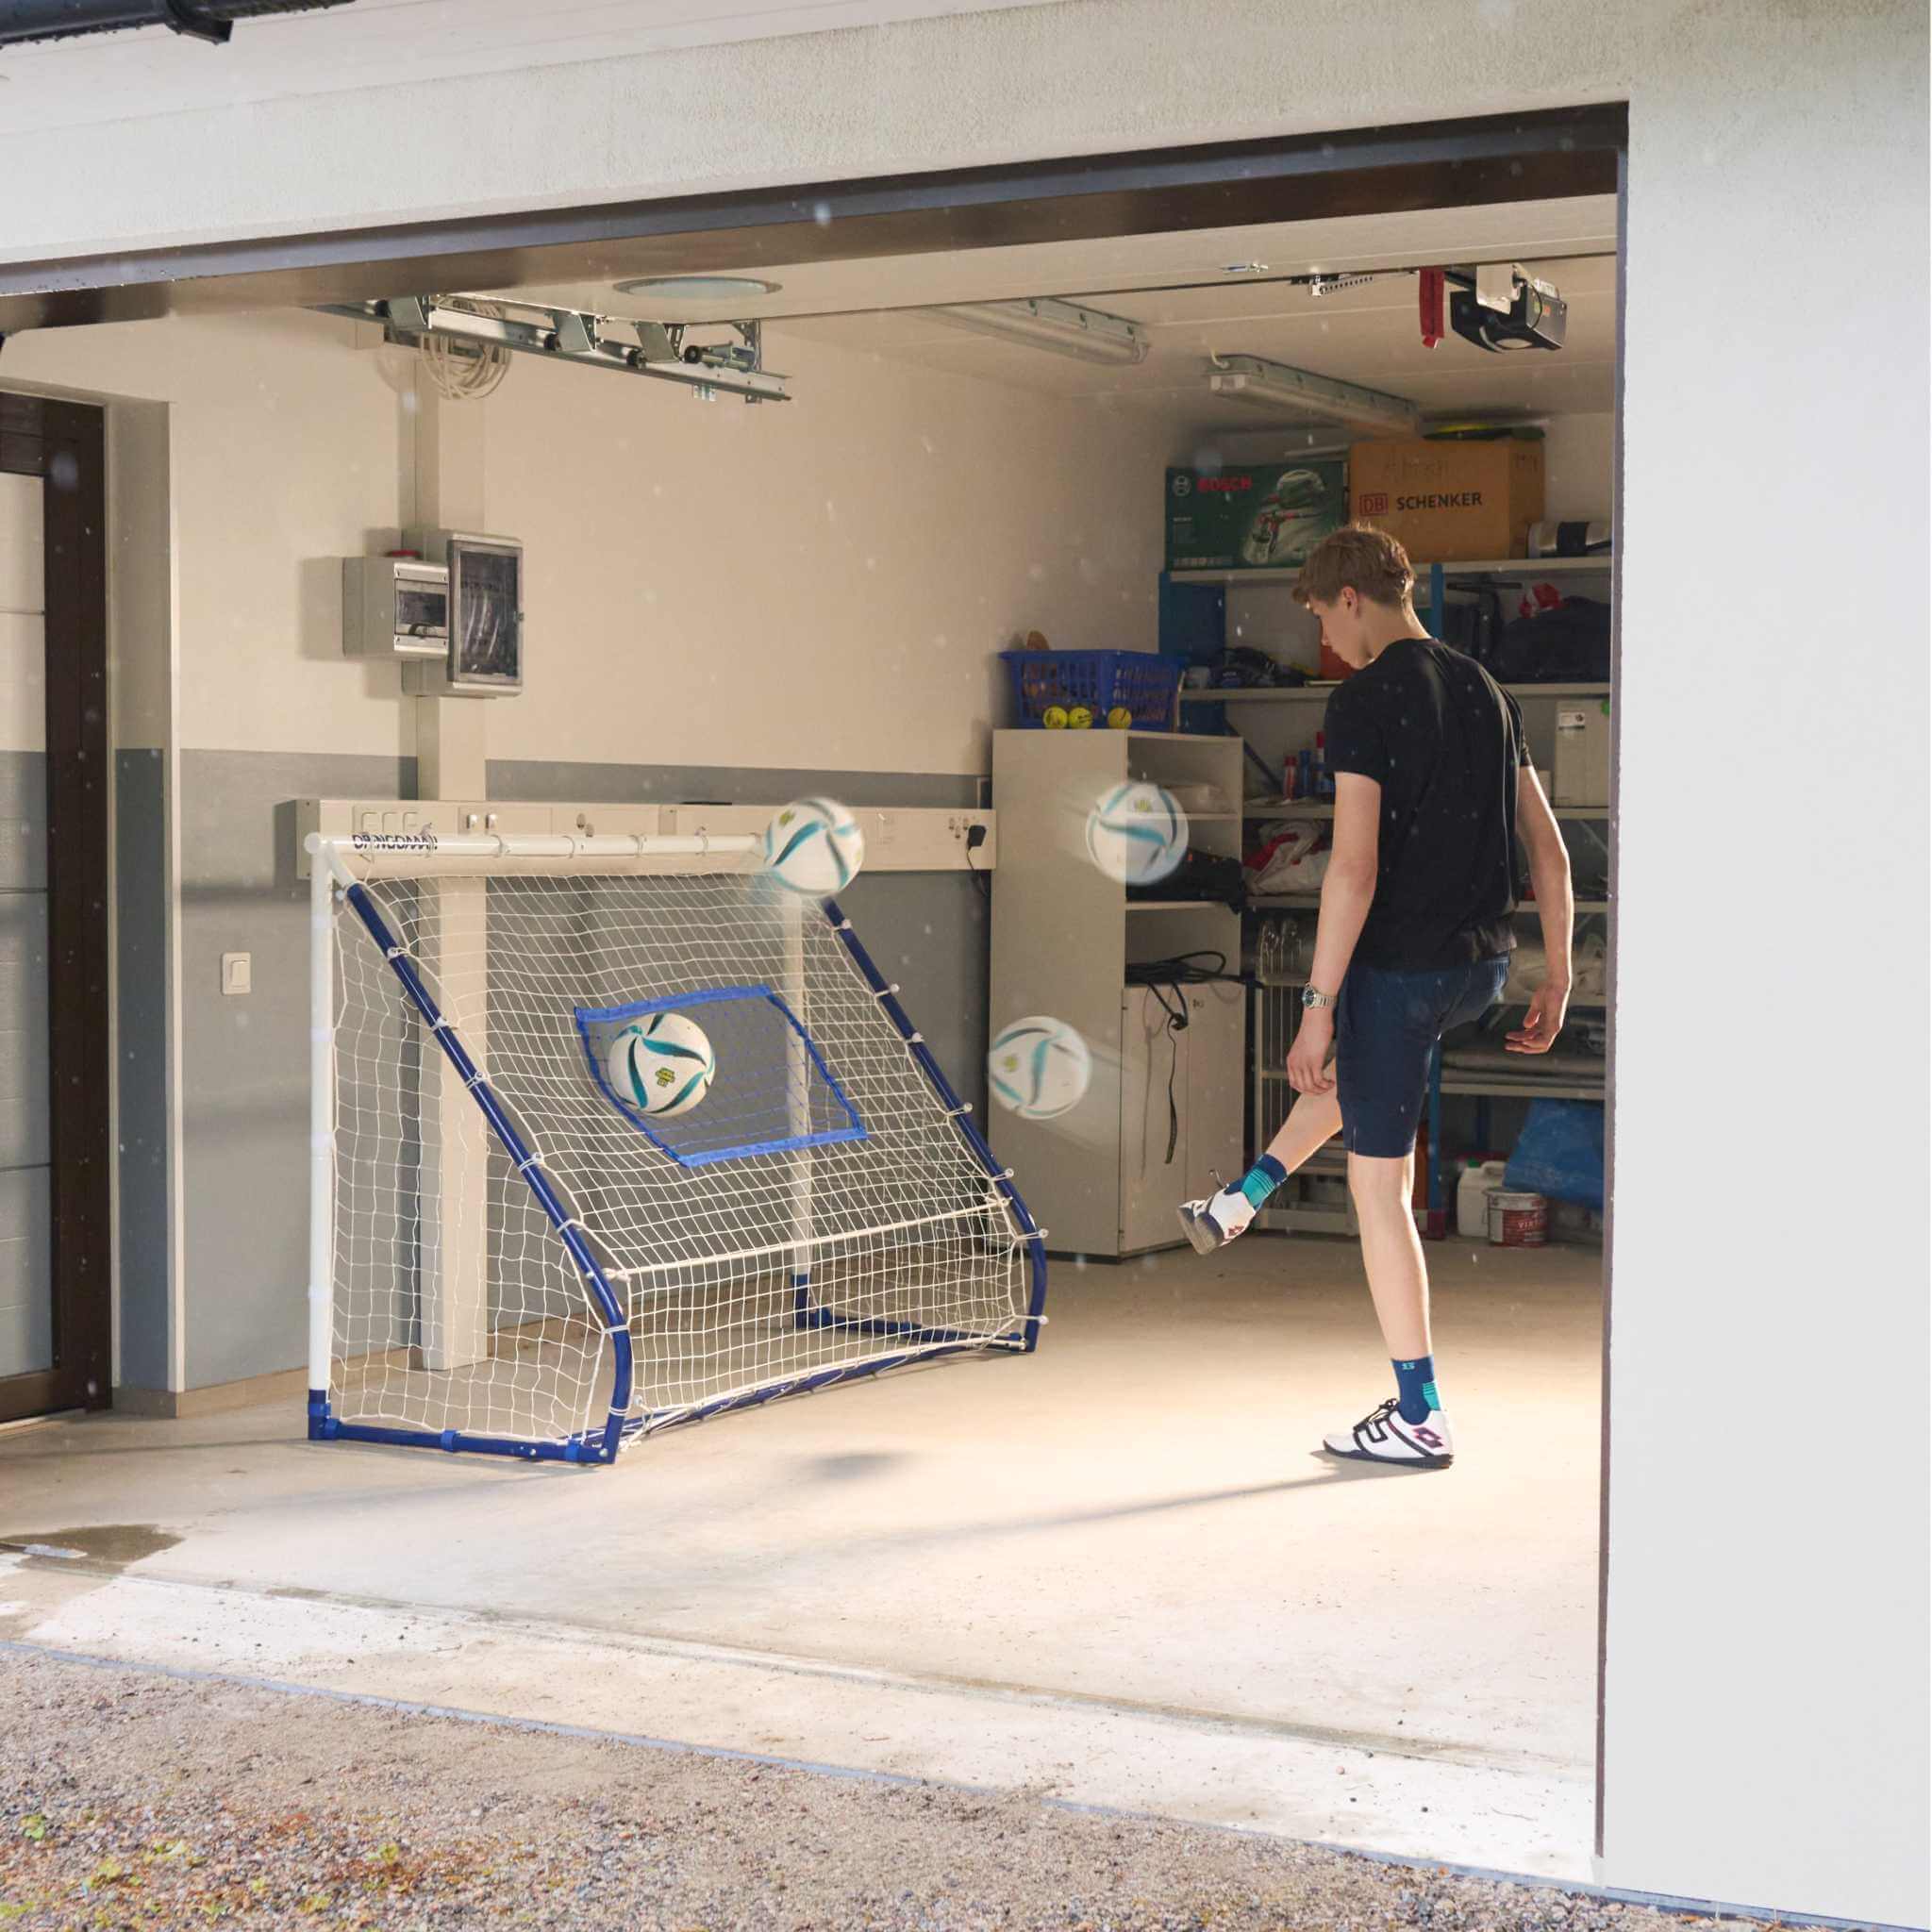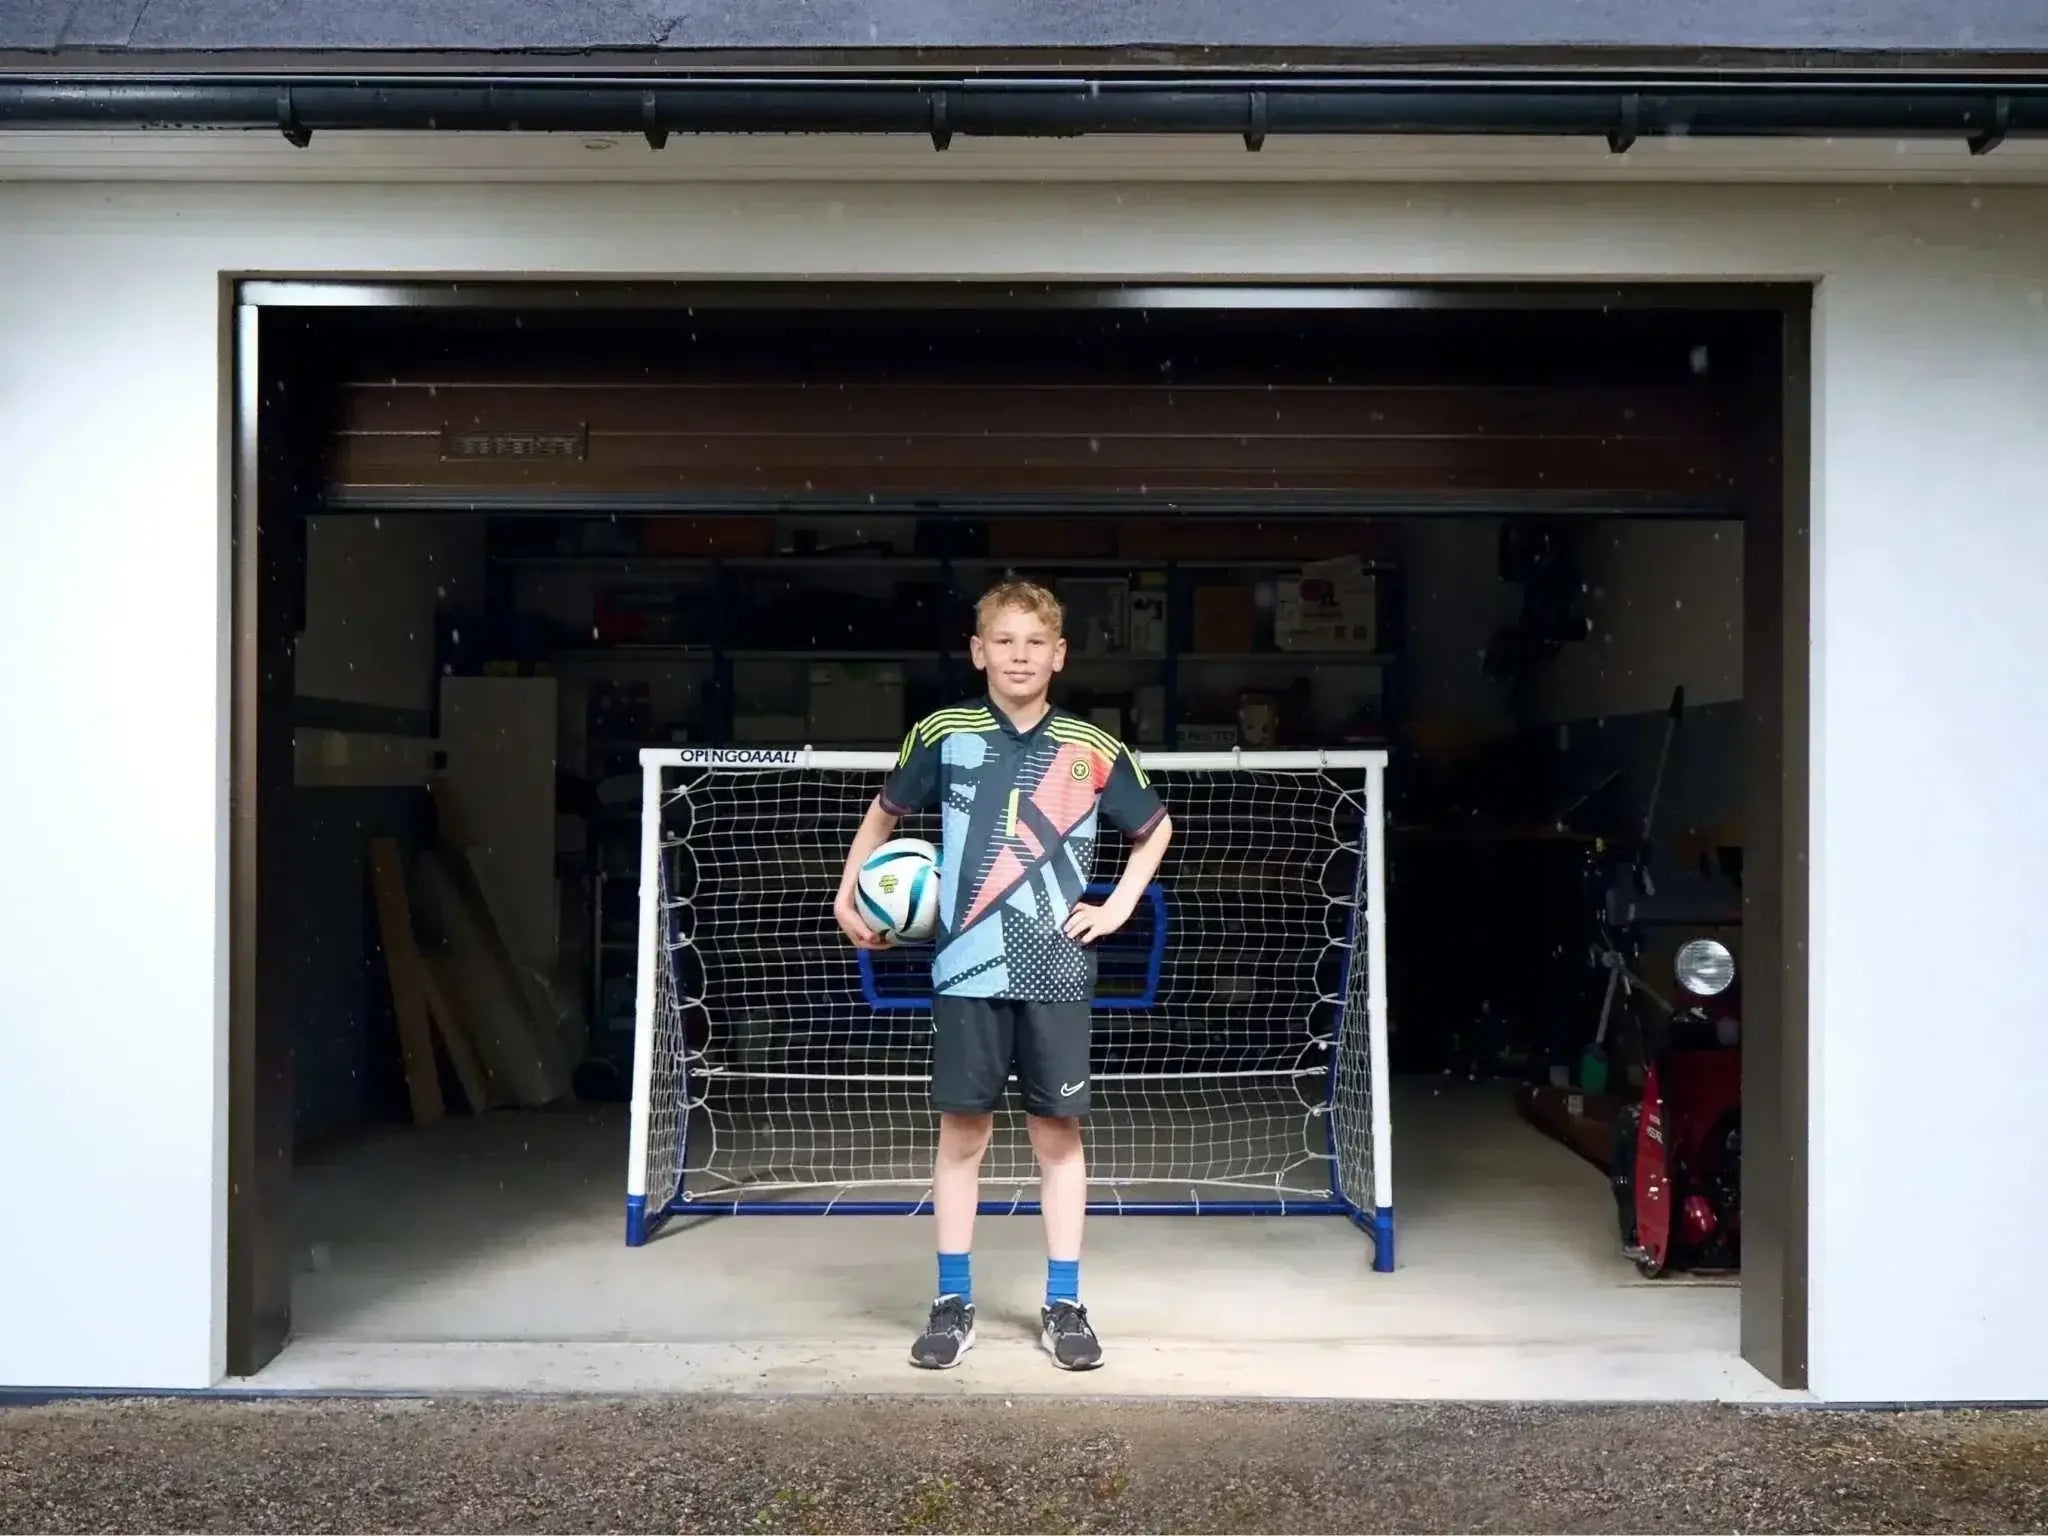

The five best ways to use a soccer rebounder are passing and receiving, high-ball control, receiving and finishing, goalkeeping, and side-to-side movement. Each one works because the rebounder sends the ball back, so a player can repeat the same touch dozens of times in a few minutes.
Below is each drill with a setup, a rep count to start from and a way to make it harder. Then come a few add-ons that mix the drills up, and what to look for if you're still choosing a rebounder.
What is a soccer rebounder?
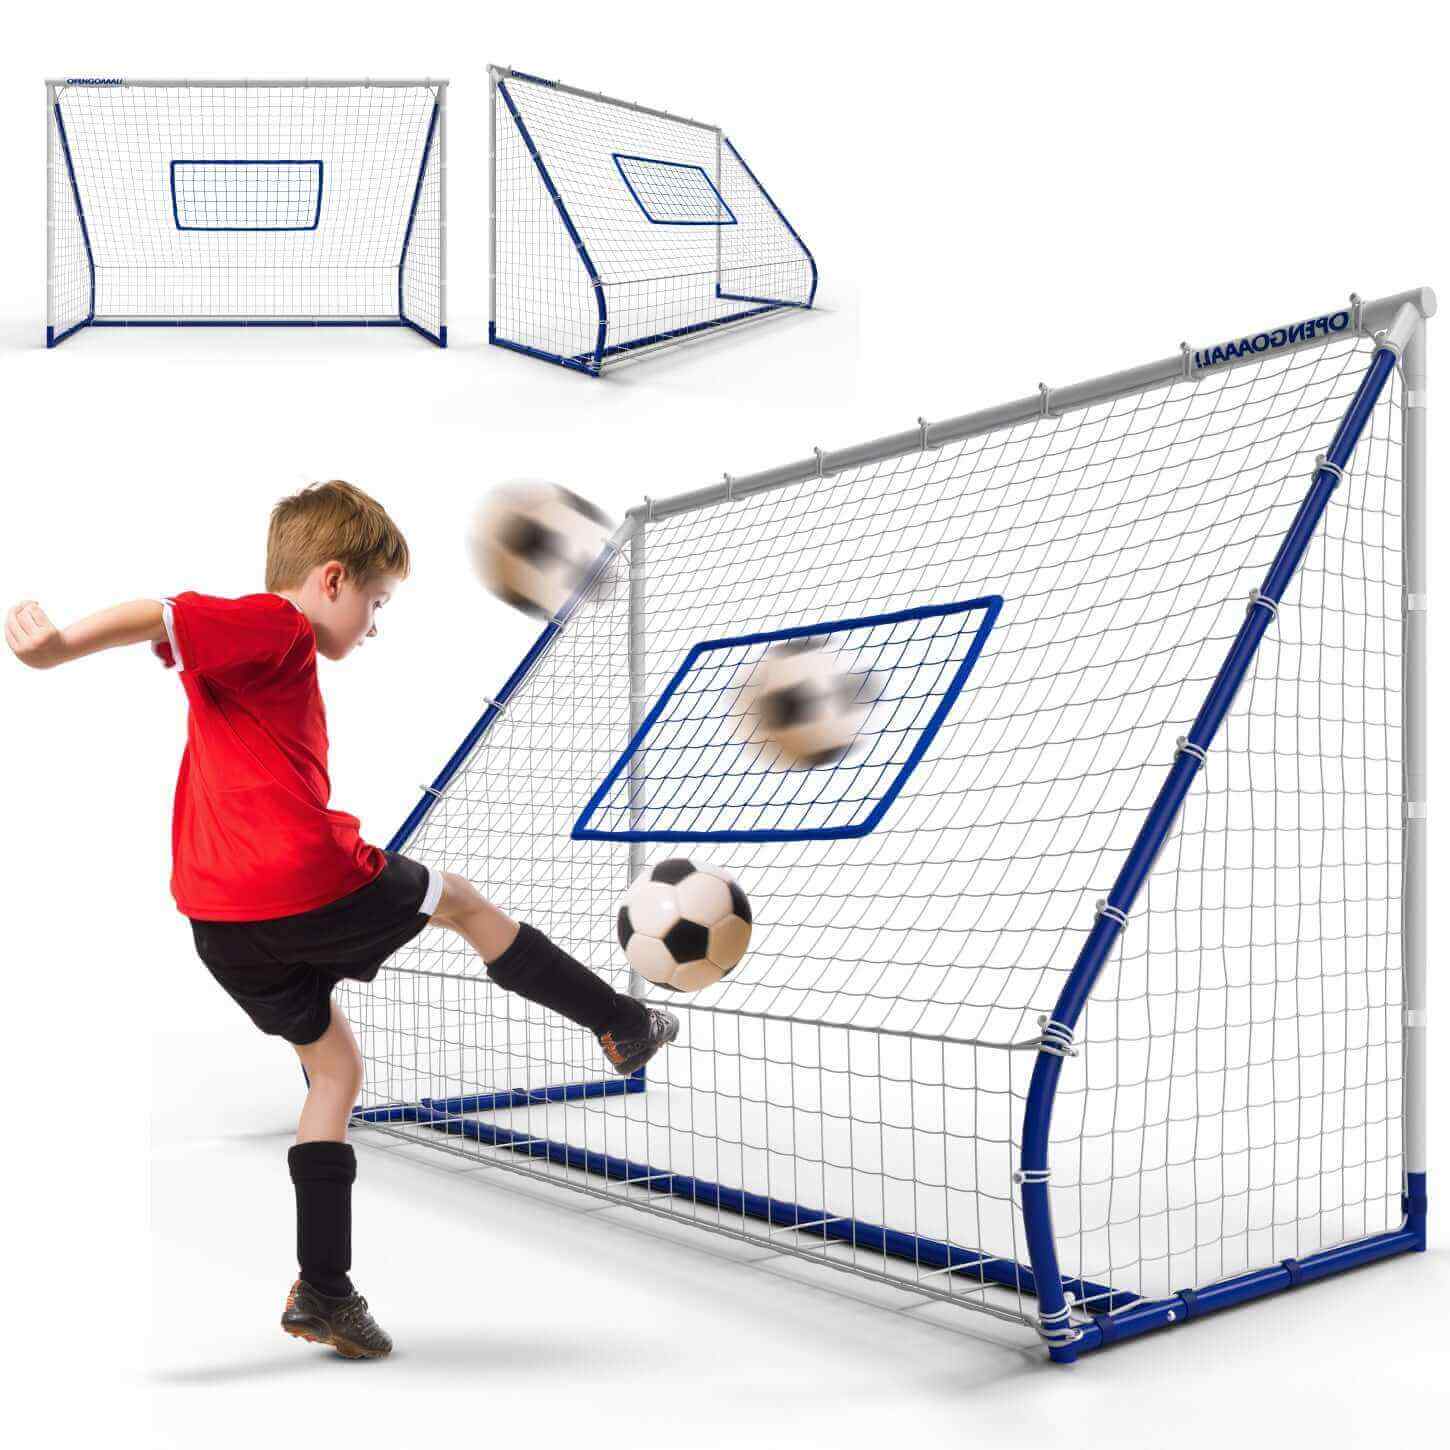
A rebounder is a tensioned net on a frame that returns the ball when you kick or throw it in. Flat ones send the ball back along the ground. Angled ones, or the upper part of a tall net, send it back in the air. Some backyard models combine a rebounder with a goal and a tall net behind it, so missed shots stay in the yard too.

The point is volume. Against a fence or an empty net, a player spends much of a session walking to get the ball. With a rebounder the ball comes back on its own, which leaves more of the session for touches. Our explainer on what a soccer rebounder is goes into the different designs.
How do you use a soccer rebounder?
Start close, use both feet, and count. The five drills below go roughly from easiest to hardest. Treat the rep counts as our starting points for a player around U10 to U12; halve them for younger kids and add sets for teens.
| Drill | Distance | Starting reps | Make it harder |
|---|---|---|---|
| Pass and trap | 5 to 8 yards | 2 sets of 25 per foot | One touch, then weak foot only |
| High-ball control | 8 to 10 yards | 3 sets of 10 | Control with thigh or chest, then volley back |
| Receive and finish | 12 to 18 yards | 3 sets of 8 shots | Turn the other way, shoot with the other foot |
| Goalkeeping | 6 to 10 yards | 3 sets of 10 throws | Throw harder, step closer |
| Move left and right | 6 to 8 yards | 2 sets of 20 passes | Add cones and a timer |
1. Pass and trap
Pass into the rebounder with the inside of the foot, stop the return dead, pass again. That's the drill. It's the first one to run in any session because it gets a player's feet working on easy, predictable balls.
Start with two touches: one to control, one to pass. When 25 in a row feels comfortable on each foot, switch to one touch, then to the weaker foot only. Keep the ball on the ground and aim for the middle of the net, since a pass that hits the frame comes back at a strange angle. For more receiving ideas, see our first touch drills.
2. Ball over the head
Kick the ball low into the top half of the net, or throw it there, and it comes back in the air. Now the player has to bring a dropping ball down. Use the instep, the thigh and the chest, and aim to have the ball at your feet within one bounce.
Once controlling it is easy, volley the return straight back, then volley it back off the thigh first. Our guide to soccer trapping covers each surface.
Leave heading out for younger players. US Youth Soccer's playing rules (December 2025) say players 10 and under may not head the ball in matches or practice it in organized team settings, and that 11- and 12-year-olds should head the ball no more than 25 times a week in total. Follow the same limits at home, and ask the coach before adding heading at any age.
3. Receiving and finishing
This is the drill that joins a touch to a shot. Stand 12 to 18 yards out, pass into the rebounder, take the return across your body with one touch, then shoot at a goal or target off to the side. Turning one way, then the other, matters more than how hard the shot is.
On a combined goal and rebounder, the setup is simpler: pass into the rebounder section, receive, and shoot at the goal in the same frame. Do sets of eight, then rest while you check where the misses went.
4. Goalkeeping skills
A rebounder gives a keeper a steady supply of balls without a shooter. Throw the ball into the net from 6 to 10 yards away, get set, and catch the return. Throws at the lower part of the net come back fast and low; throws high come back looping.
Start with catches at chest height, then low balls you have to get down to. When that's easy, step closer, which cuts reaction time. Our goalie drills article has more for keepers training alone.
5. Move left and right
Set two cones about 5 yards apart in front of the rebounder. Pass from the left cone, shuffle to receive the return at the right cone, pass from there, shuffle back. The player has to move before the ball arrives and receive while moving.
Add a rule: receive on the foot farther from the rebounder, so the body stays open. Count passes in 30 seconds and try to beat it next set. A parent pointing left or right before each pass adds a decision to the movement.
How can you add challenge to rebounder drills?
Add one piece of equipment at a time, and only when the basic drill is easy.
- Cones. A slalom between passes, or a gate to dribble through before you shoot.
- Agility rings or a ladder. Quick feet before each receive. Our ladder drills fit in front of most rebounders.
- Mini hurdles. Step over one, receive, pass, step back.
- A timer. Most clean passes in 60 seconds, logged on a chalkboard or phone.
- A second ball. Pass one, dribble the other around a cone, then receive the first.
What should you look for in a soccer rebounder?
Check four things: the frame, how it adjusts, whether you can move it, and what the net does with a miss. A steel frame and tight weatherproof net suit a rebounder that stays outside. Adjustable angles let you choose ground balls or high balls. Light, folding models are easier to take to the park. And a rebounder with a backstop behind it keeps missed shots in the yard.
The Open Goaaal® 3-in-1 Soccer Goal Trainer takes the combined route: a goal, a rebounder and a backstop on steel poles, in four sizes. Our Junior has an 8 x 4.5 ft goal with an 8 ft tall backstop up to 16 ft wide; the Standard has a 9 x 5 ft goal with a 10 ft backstop. Both sit on natural grass with no digging. For a wider look at the options, read our roundup of soccer rebounders.
FAQ
How far should you stand from a soccer rebounder?
About 5 to 8 yards for passing, closer for younger kids. Move back for shooting, and step in for keeper work when you want less time to react.
Can kids use a rebounder alone?
Yes. That's the main reason families buy one. Every drill above works with one player; a parent can add throws or call directions.
How long should a rebounder session be?
Fifteen to thirty minutes works well. Run two or three drills, keep sets short, and stop while the player still wants to keep going.
Is a rebounder good for goalkeepers?
Yes. Throwing into it gives a keeper repeated catches at different heights without needing a shooter.
This article is general information, not medical advice, diagnosis or treatment. For a persistent or worsening symptom, or any concern about your health, speak to a qualified healthcare professional.
Where to start
Run pass and trap first, add one more drill each week, and keep a simple count so progress is easy to see. If you're setting up at home, start with a rebounder that has a backstop behind it, then build out your sessions from our passing drills.