Simple Footwork Drills Every Soccer Player Should Practice
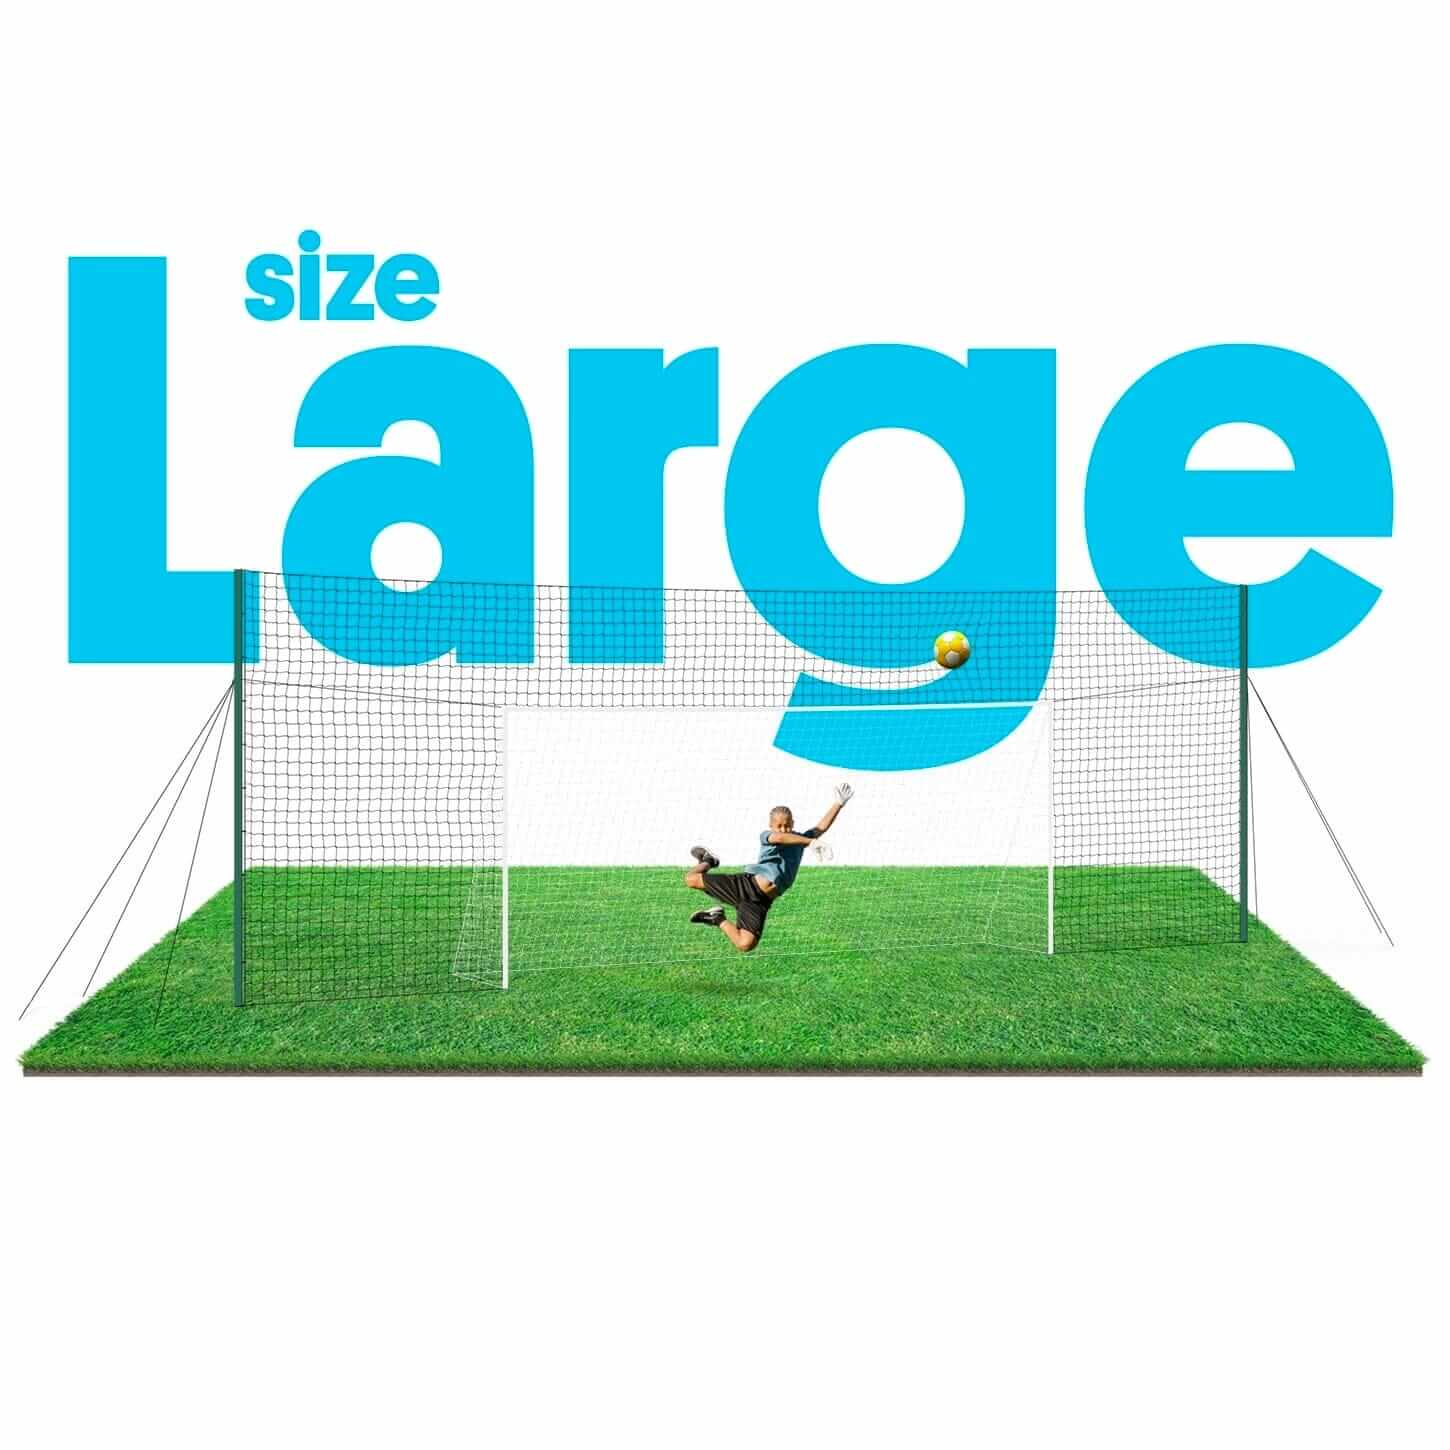
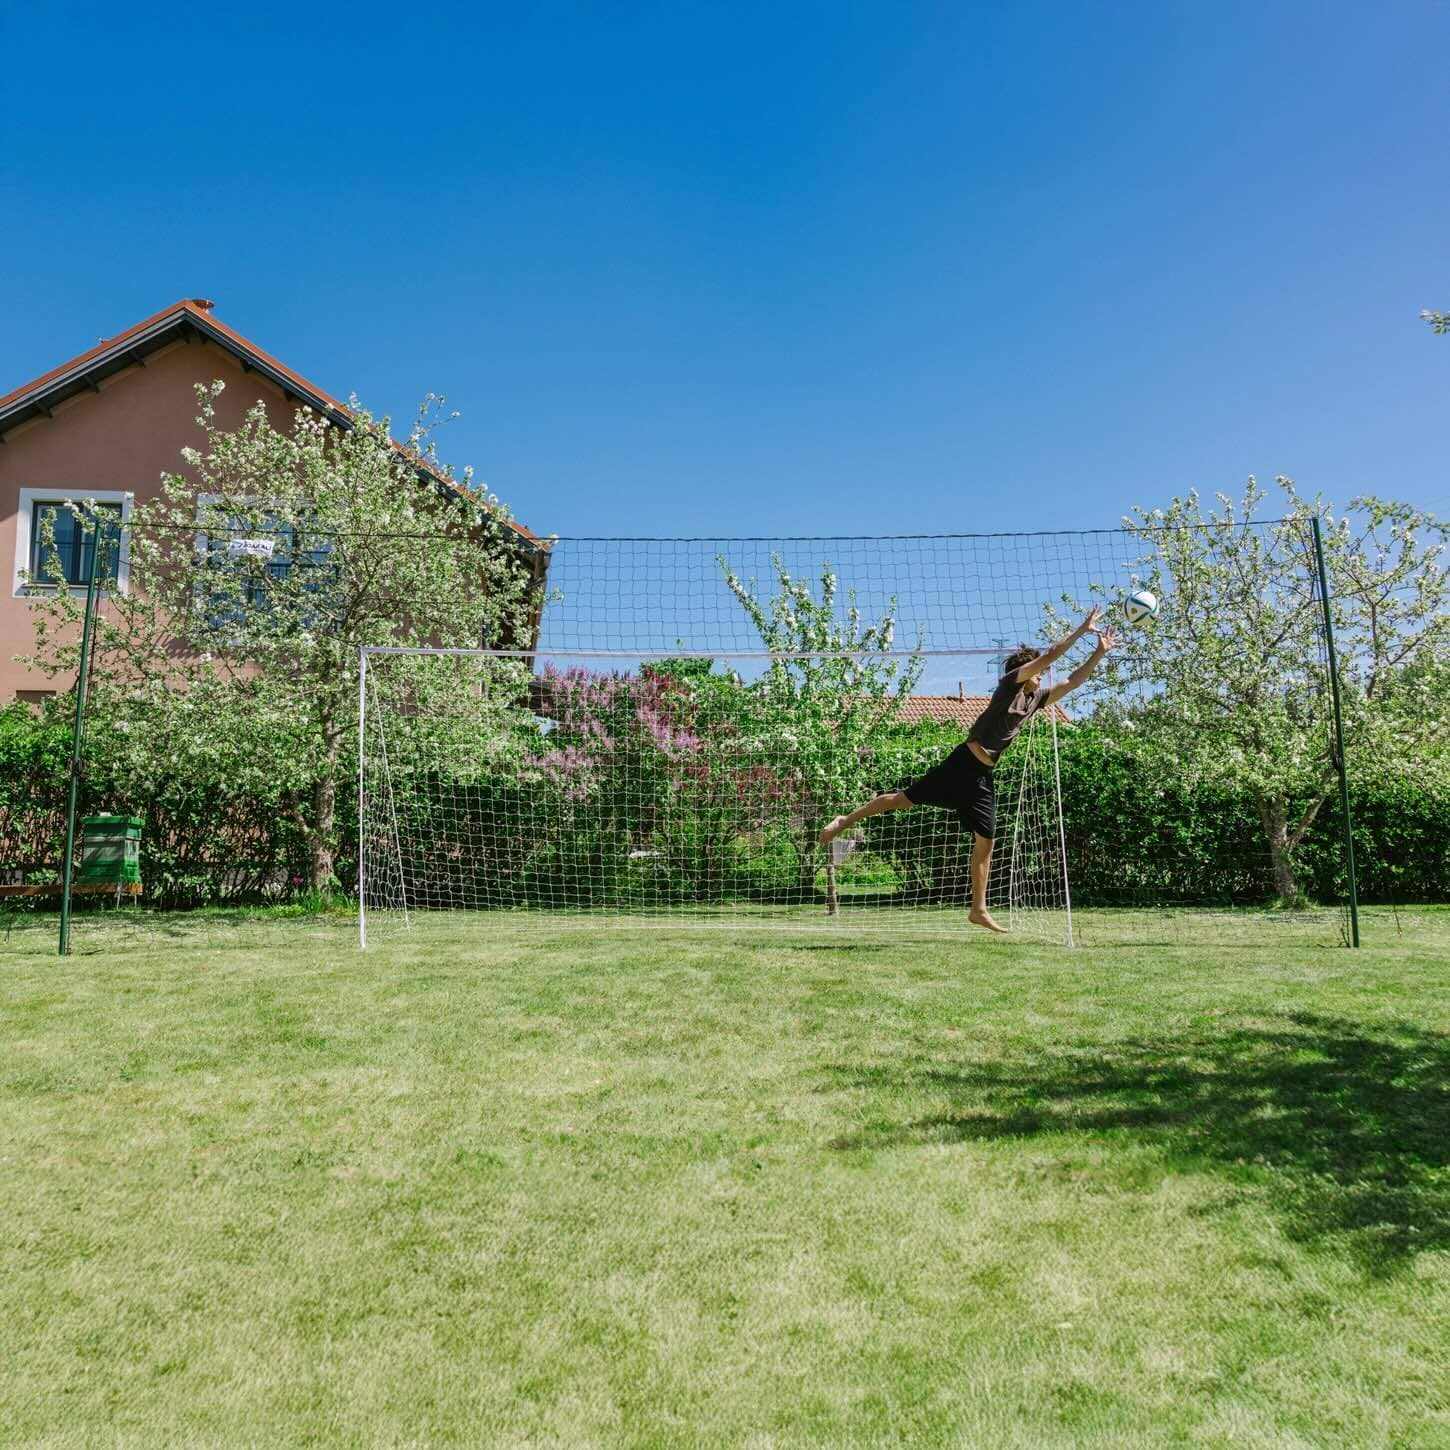
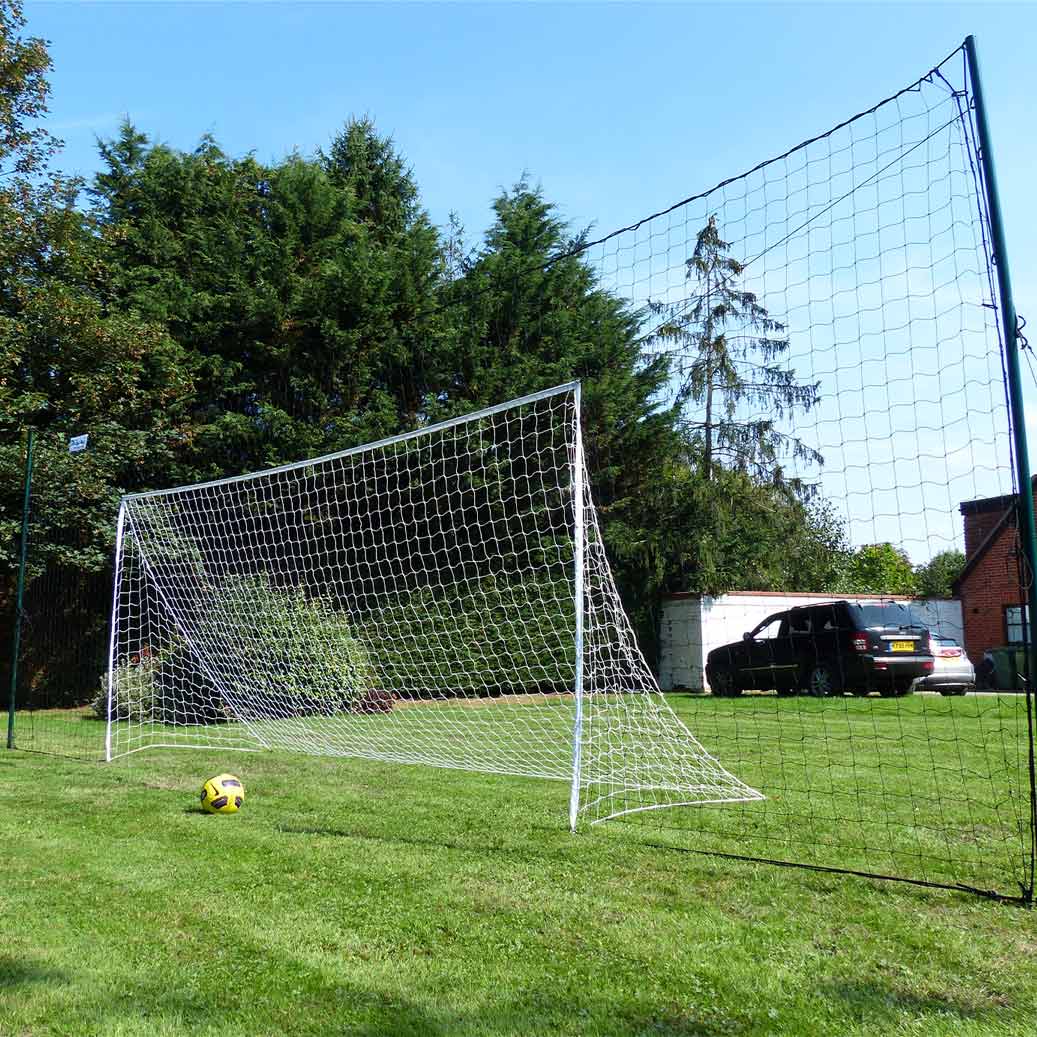
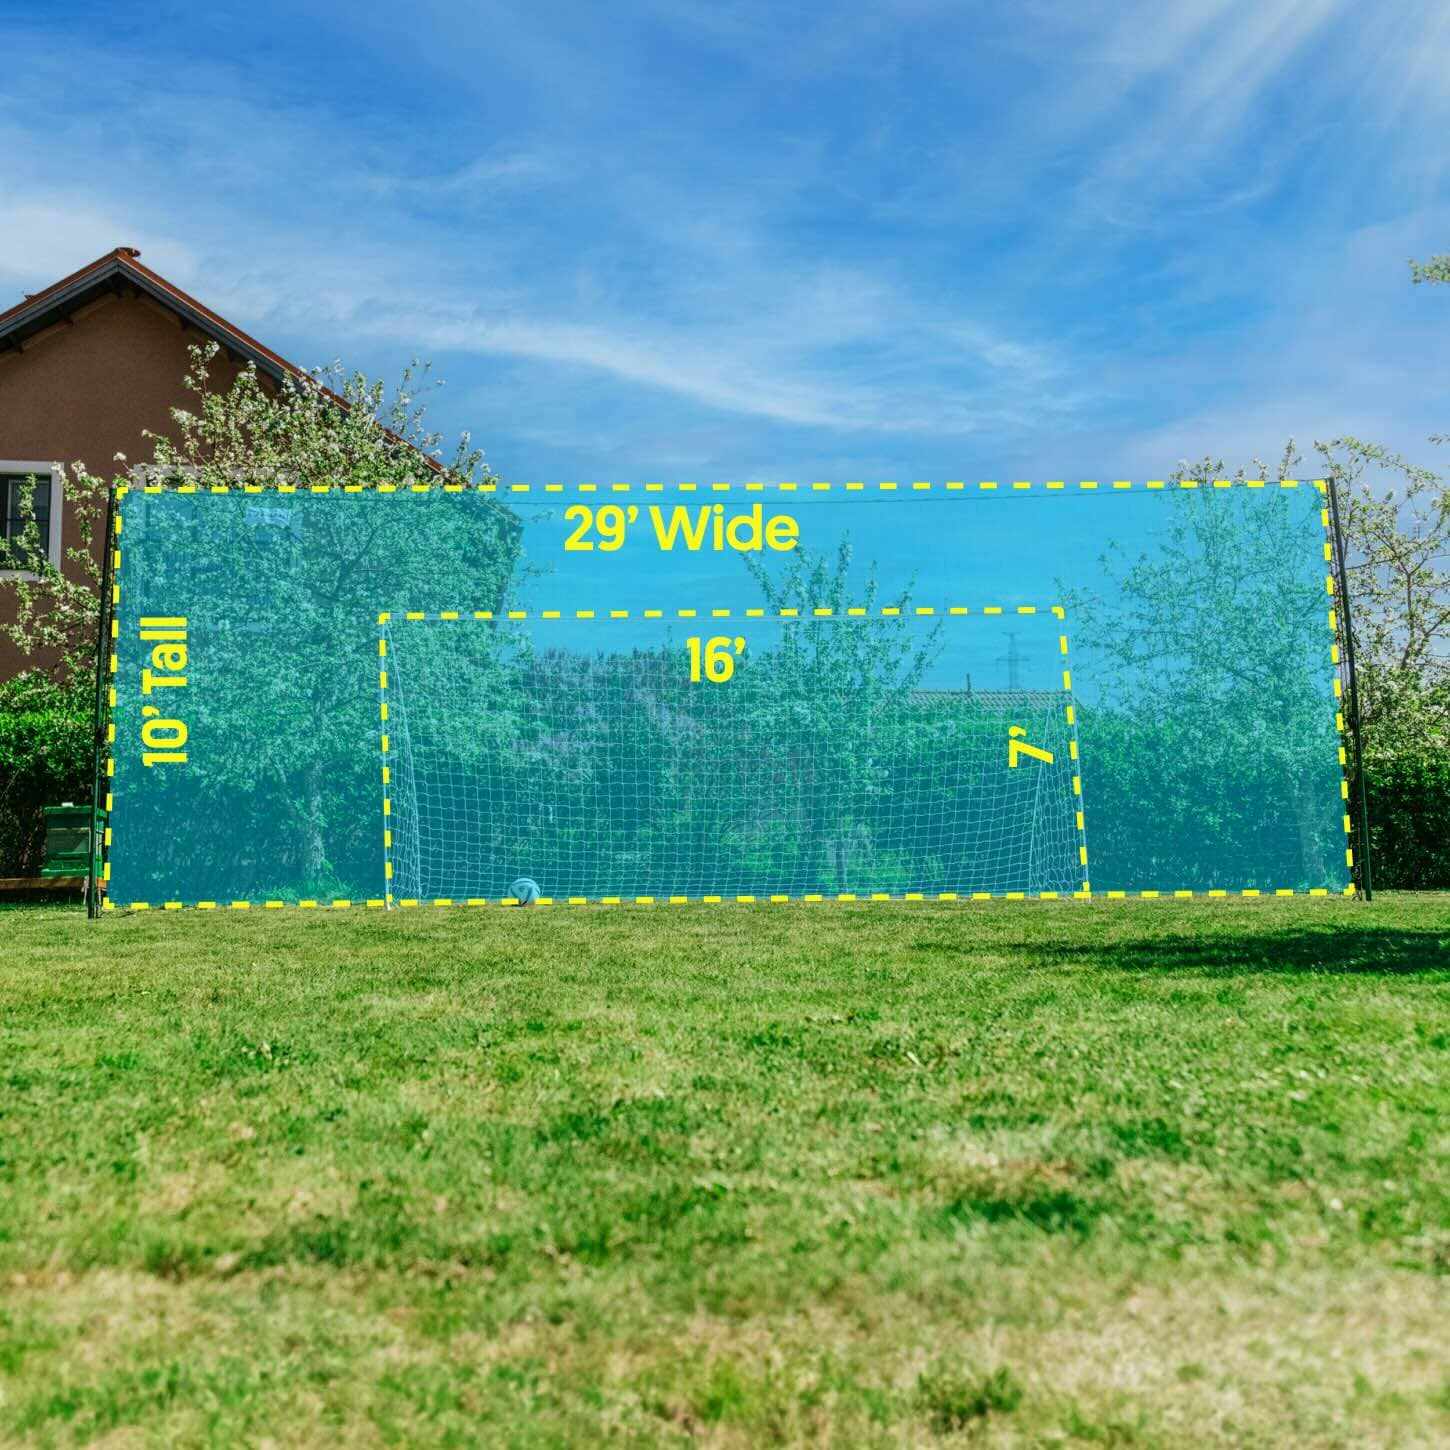
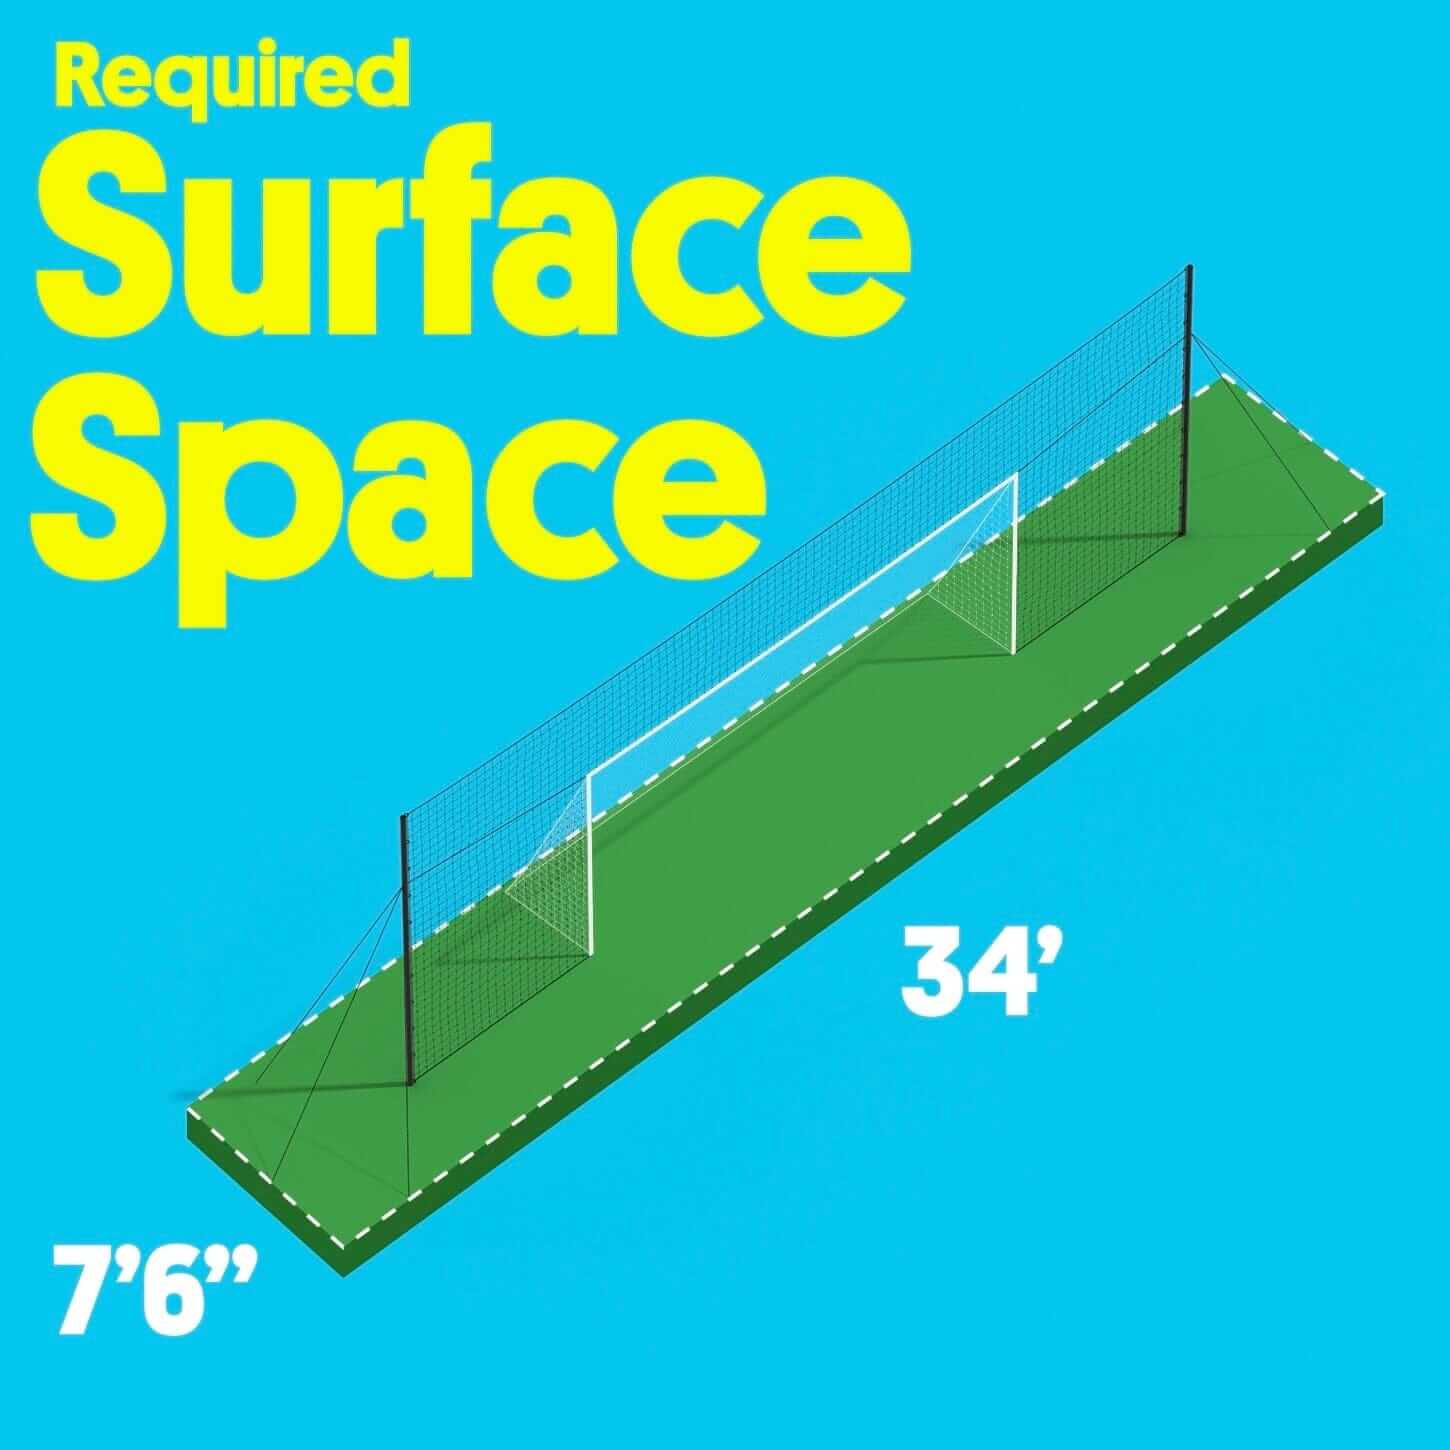
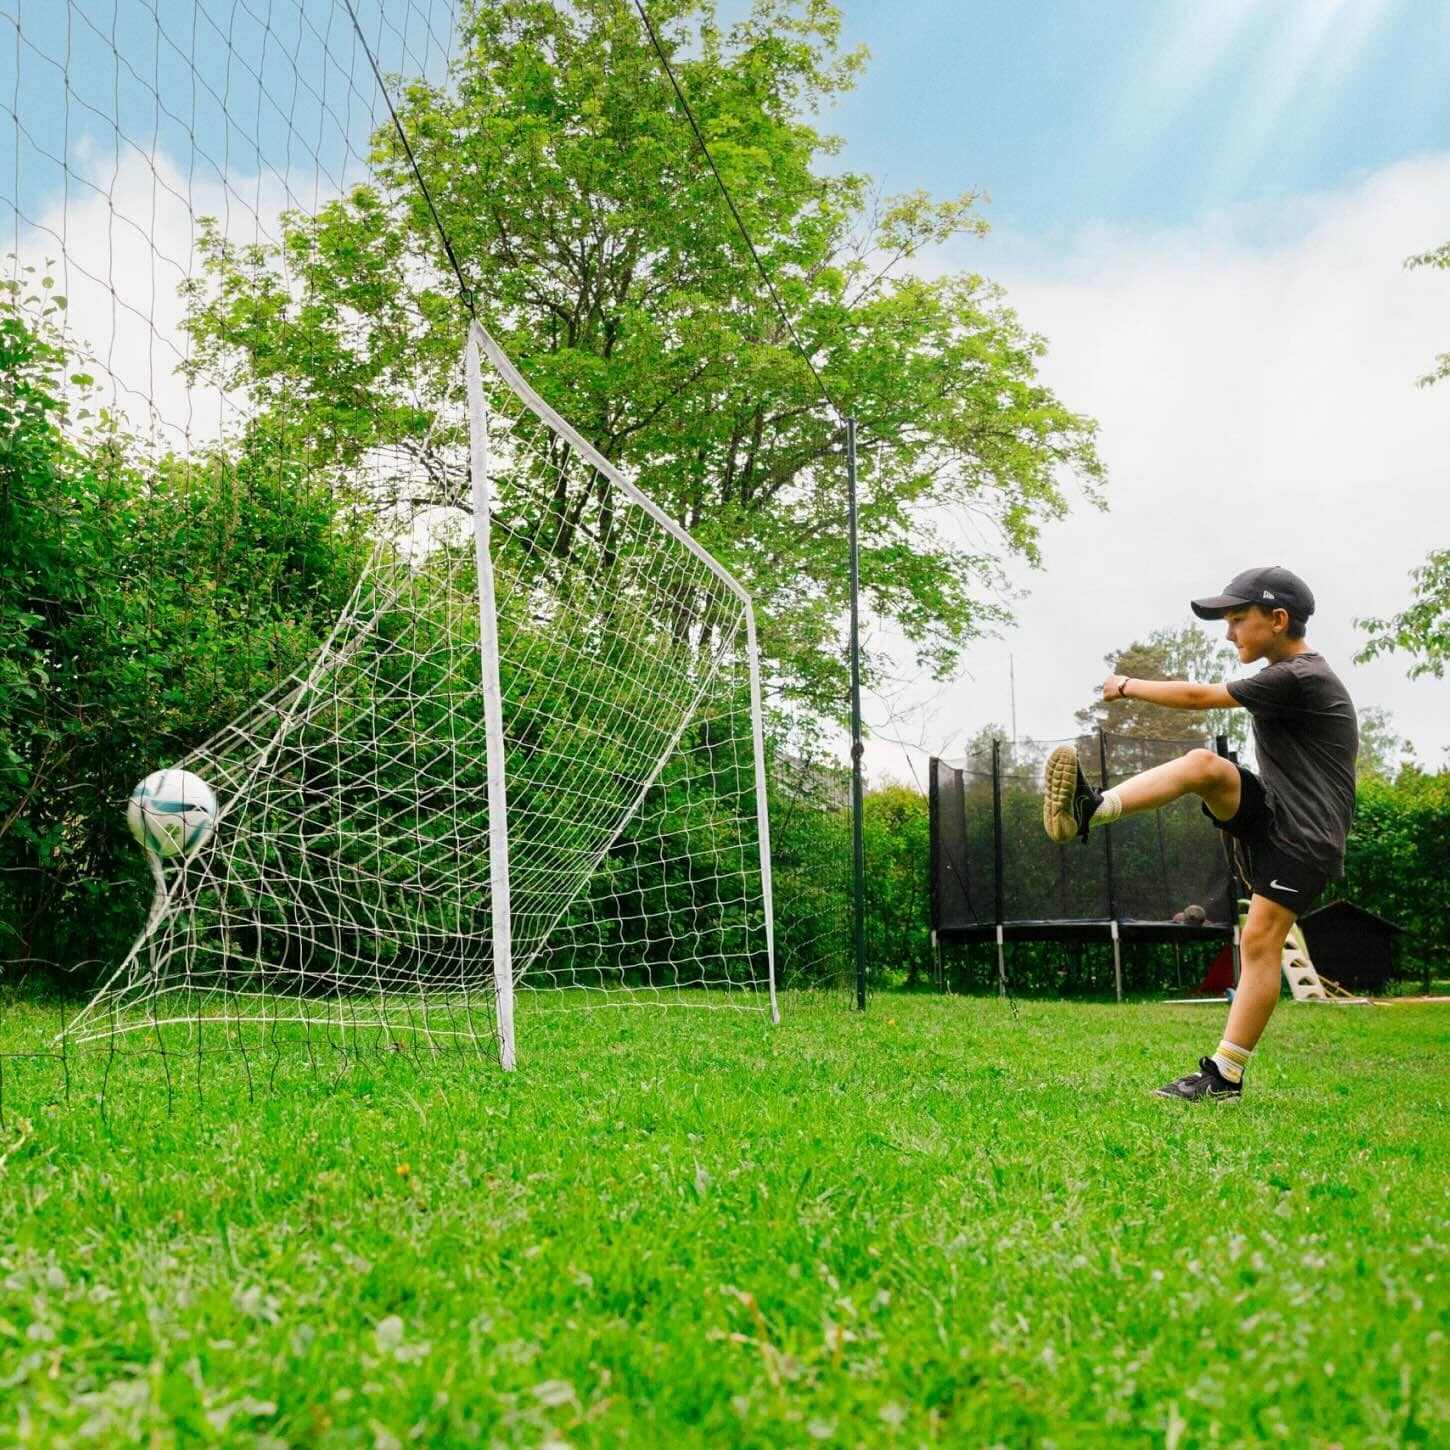
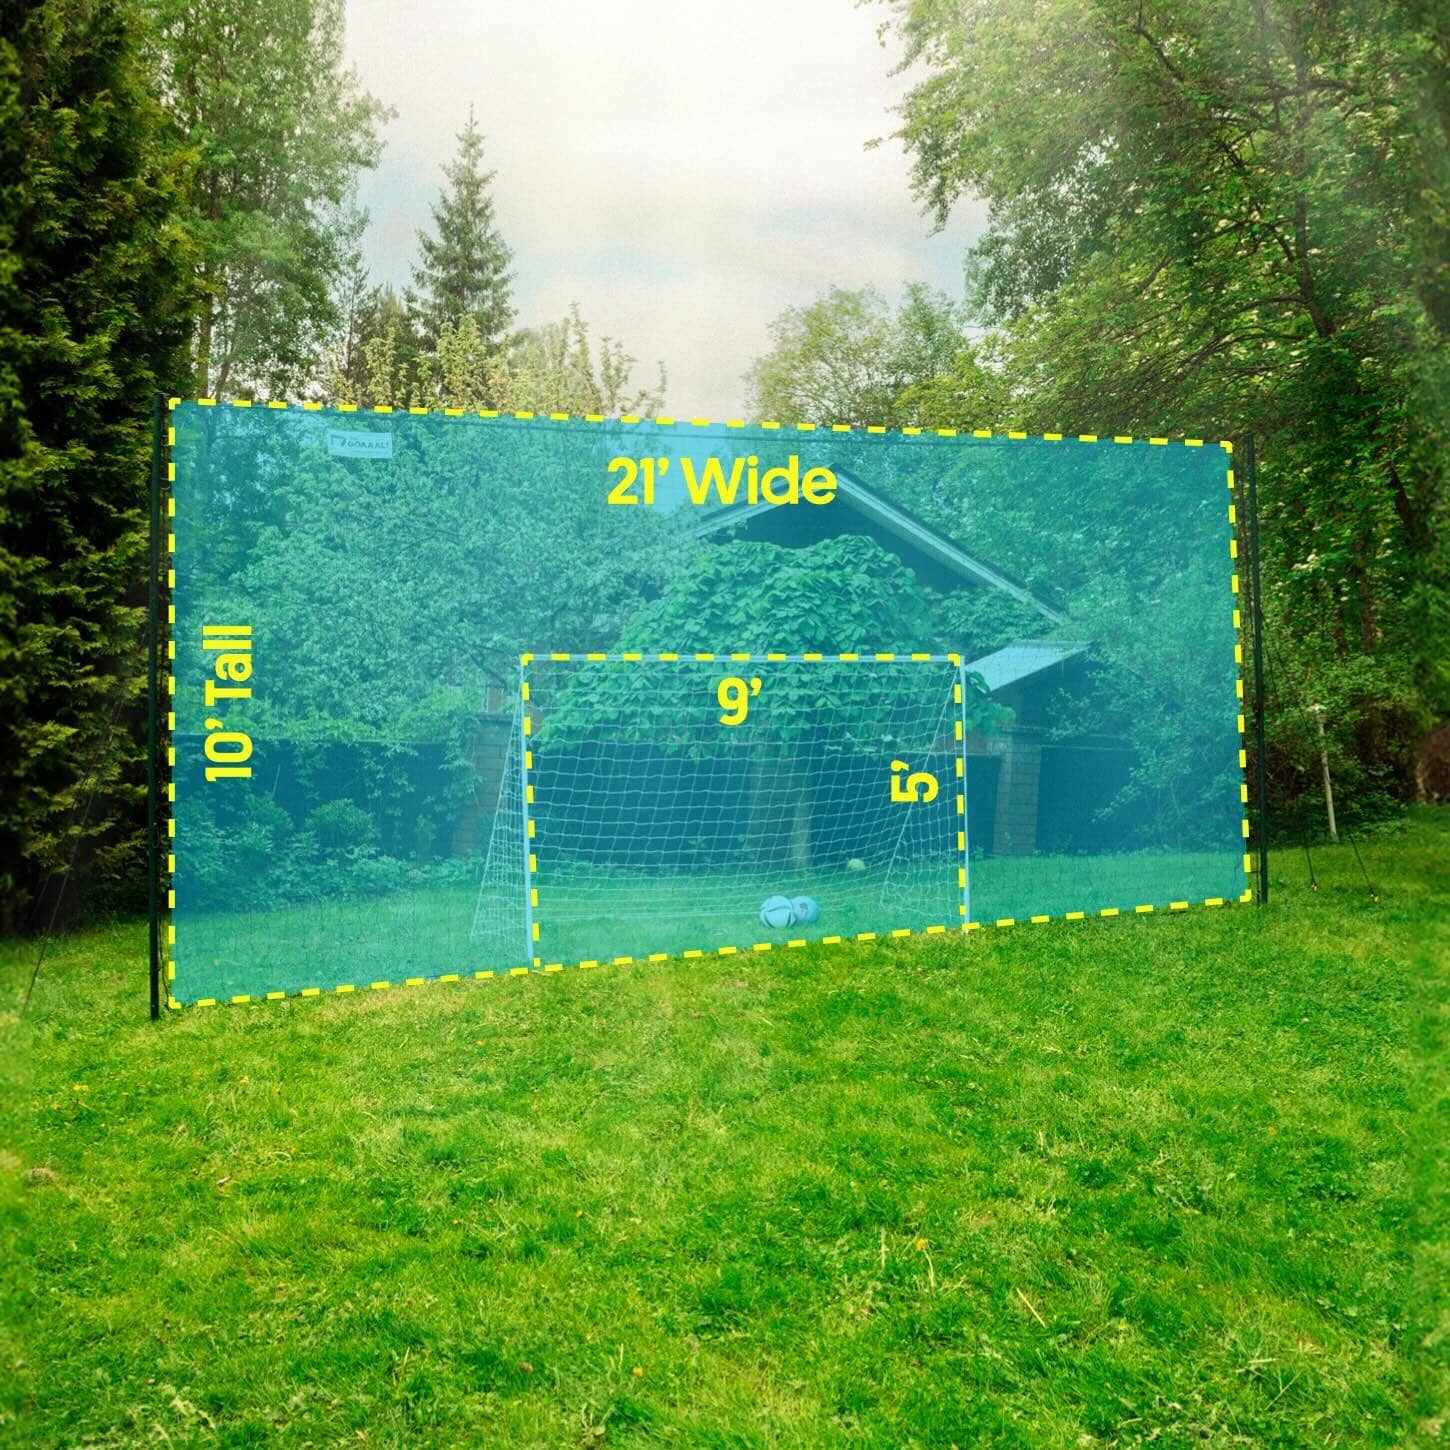
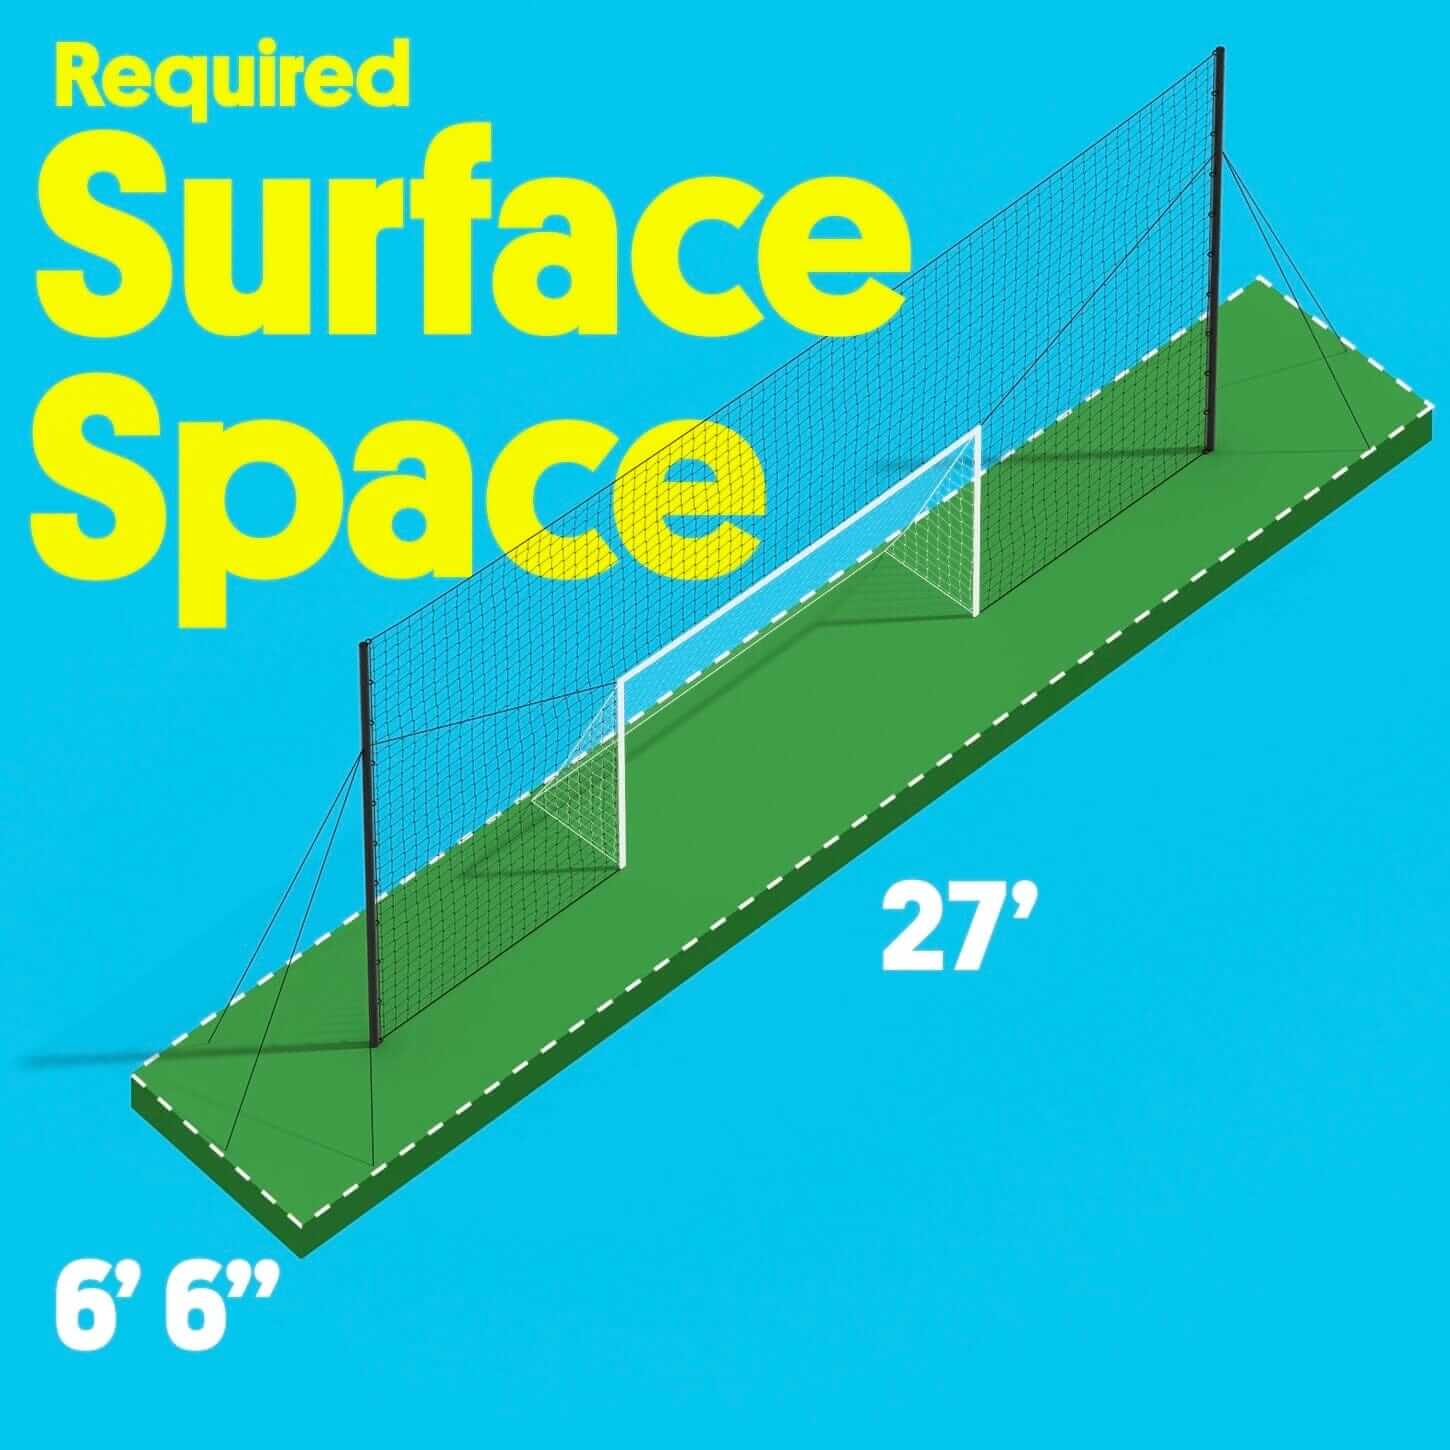
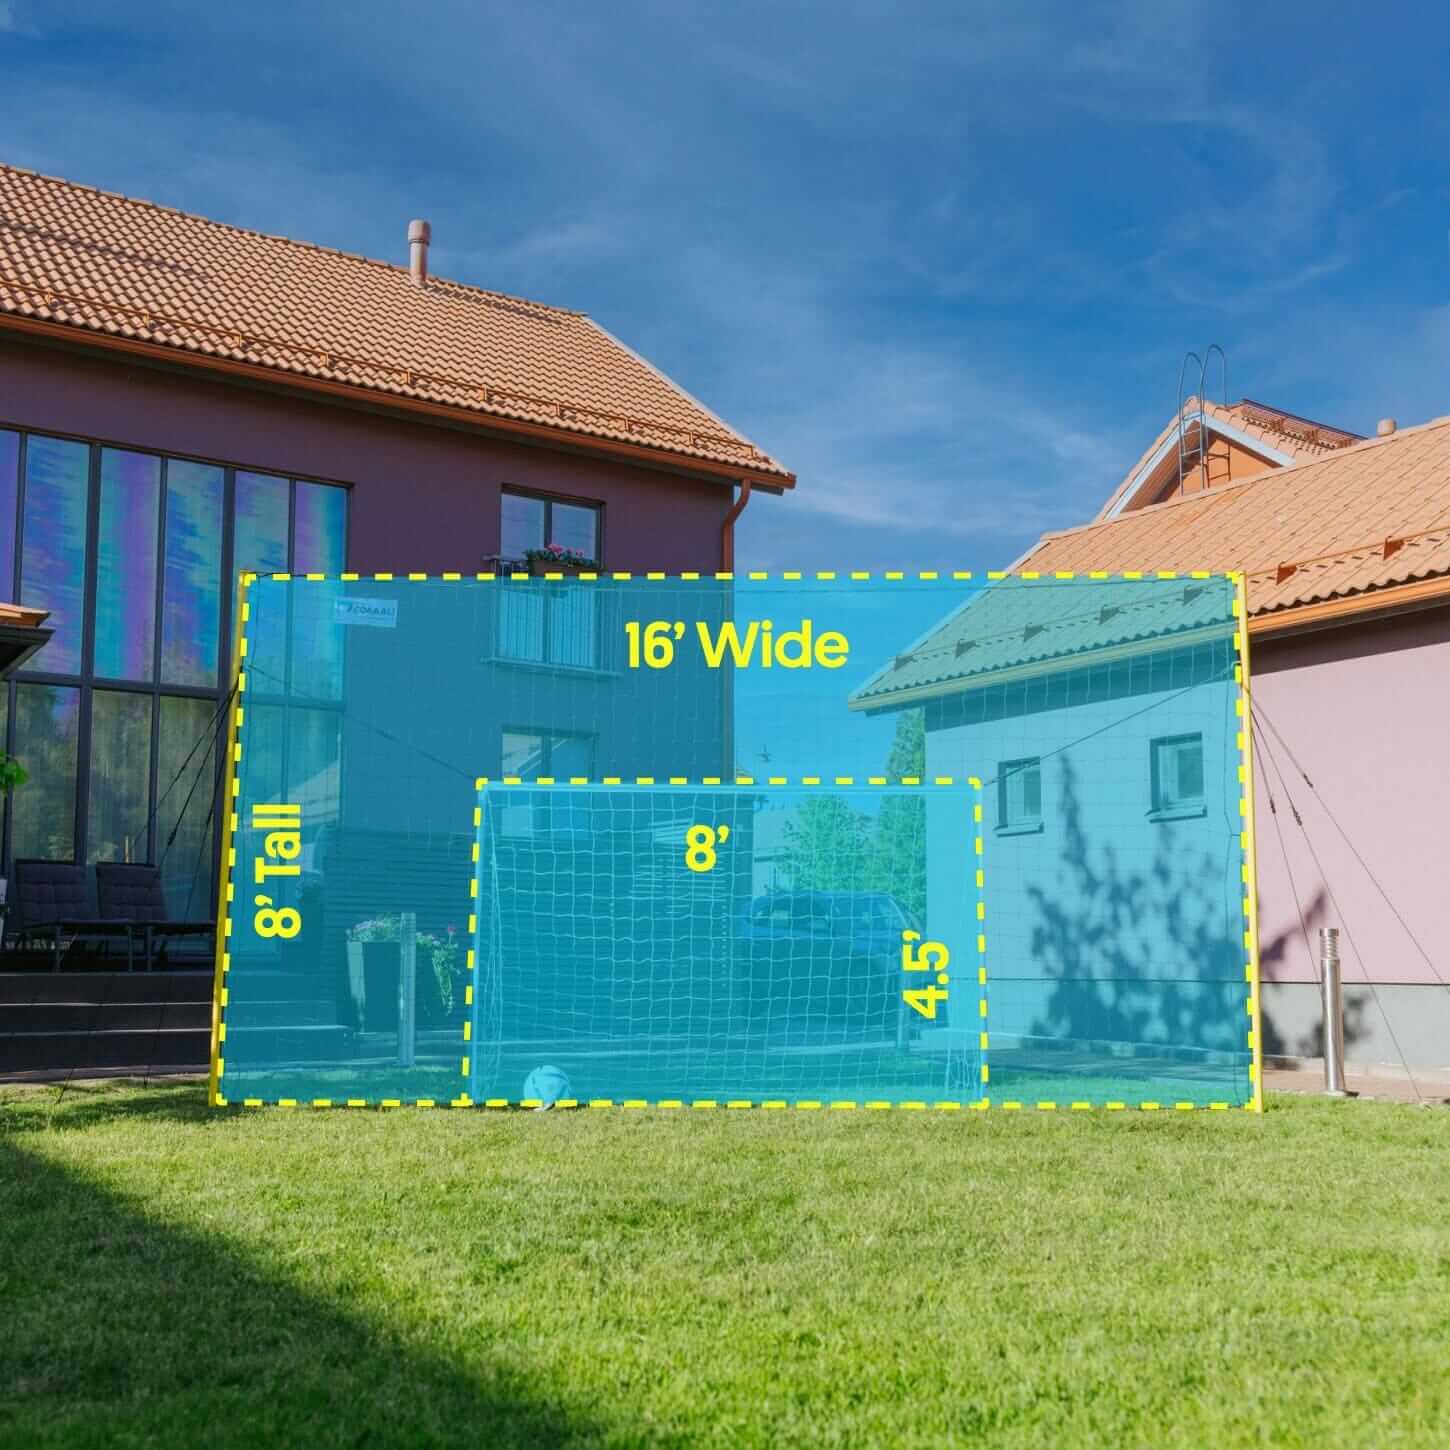
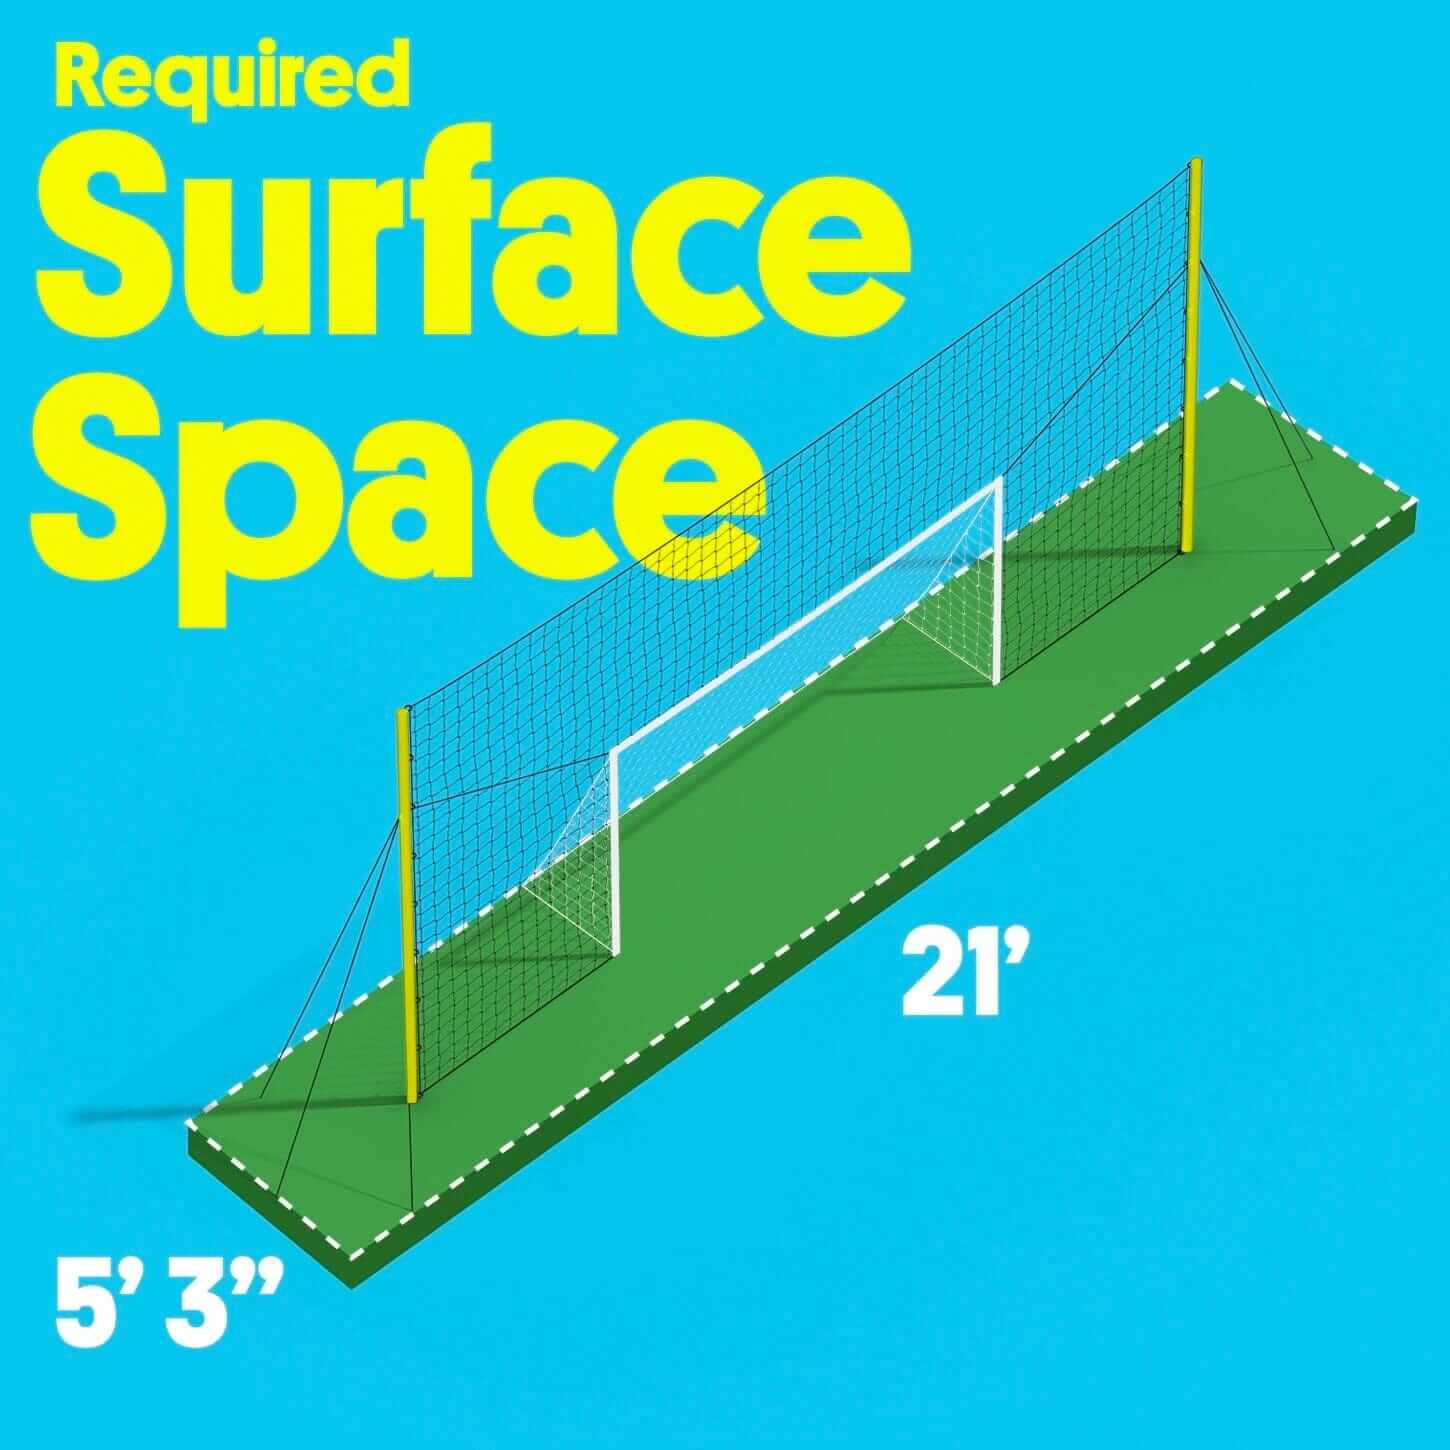
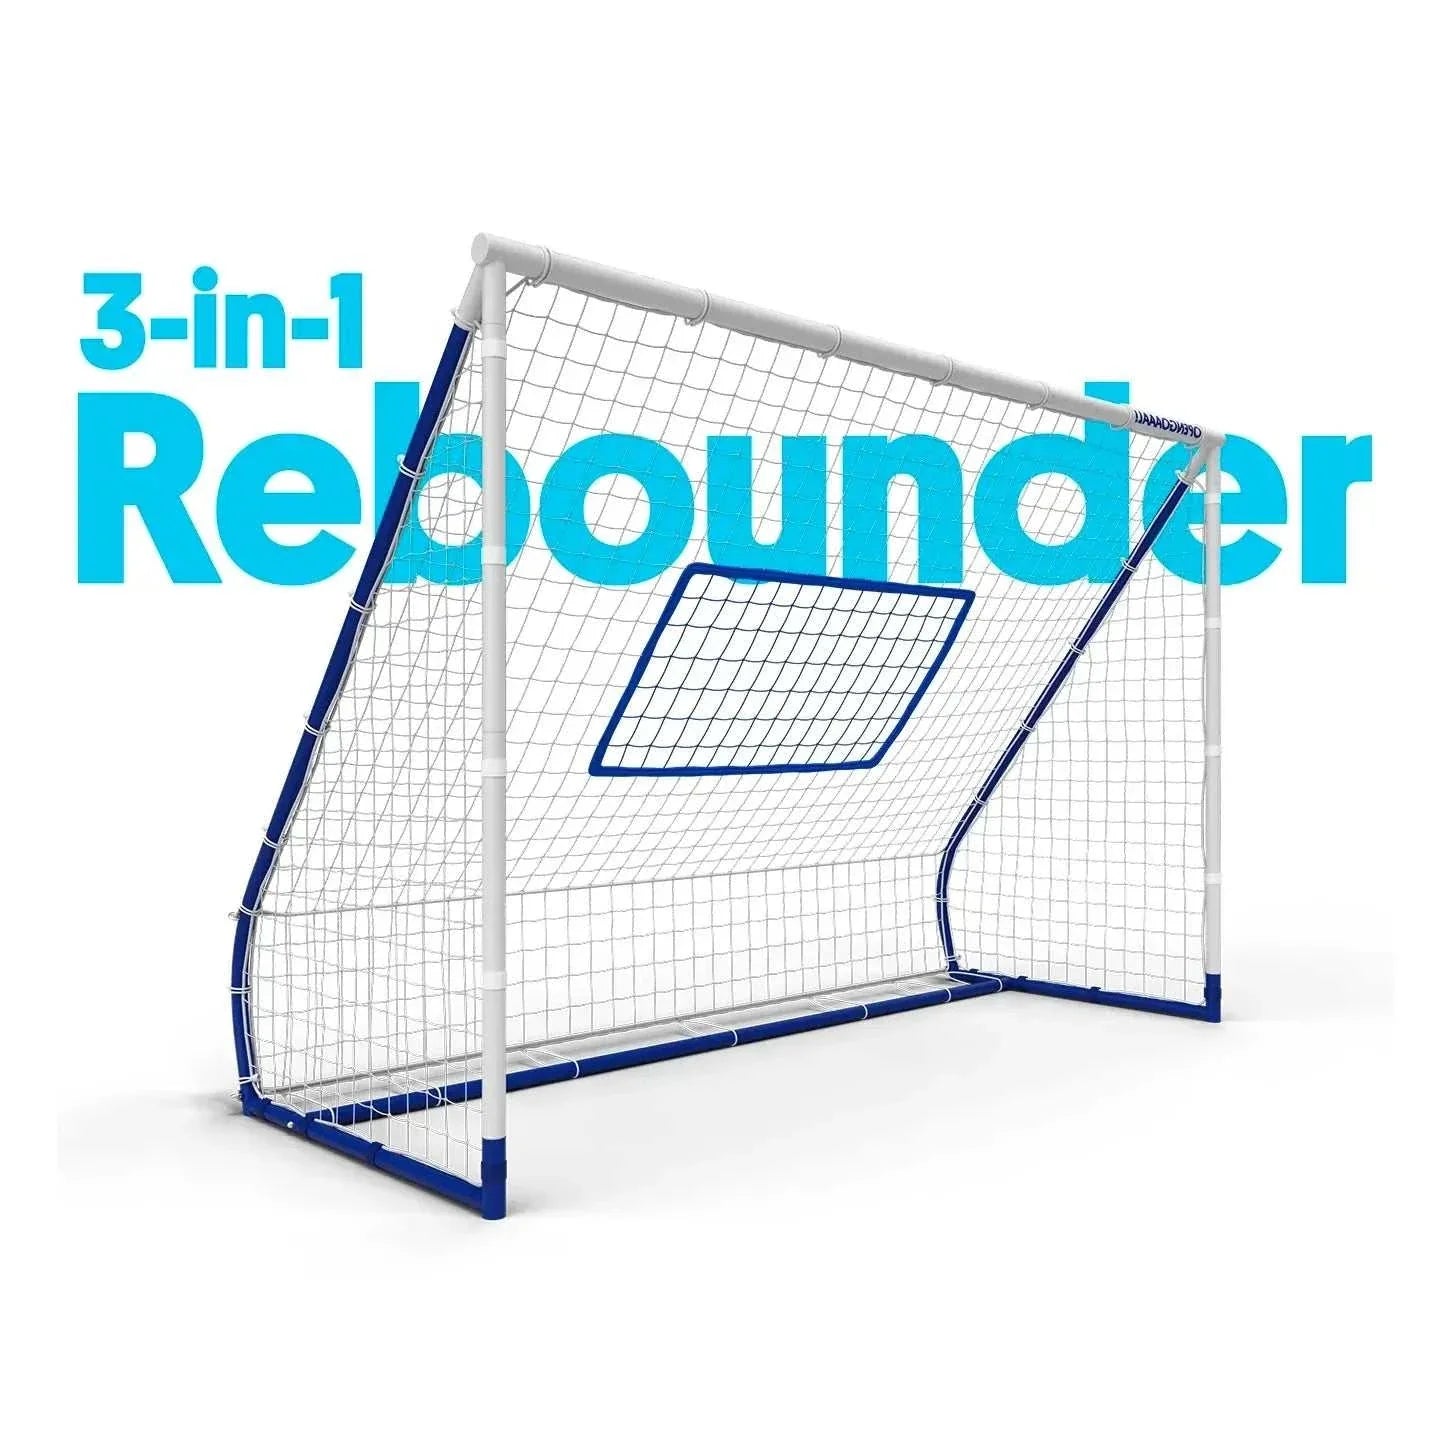
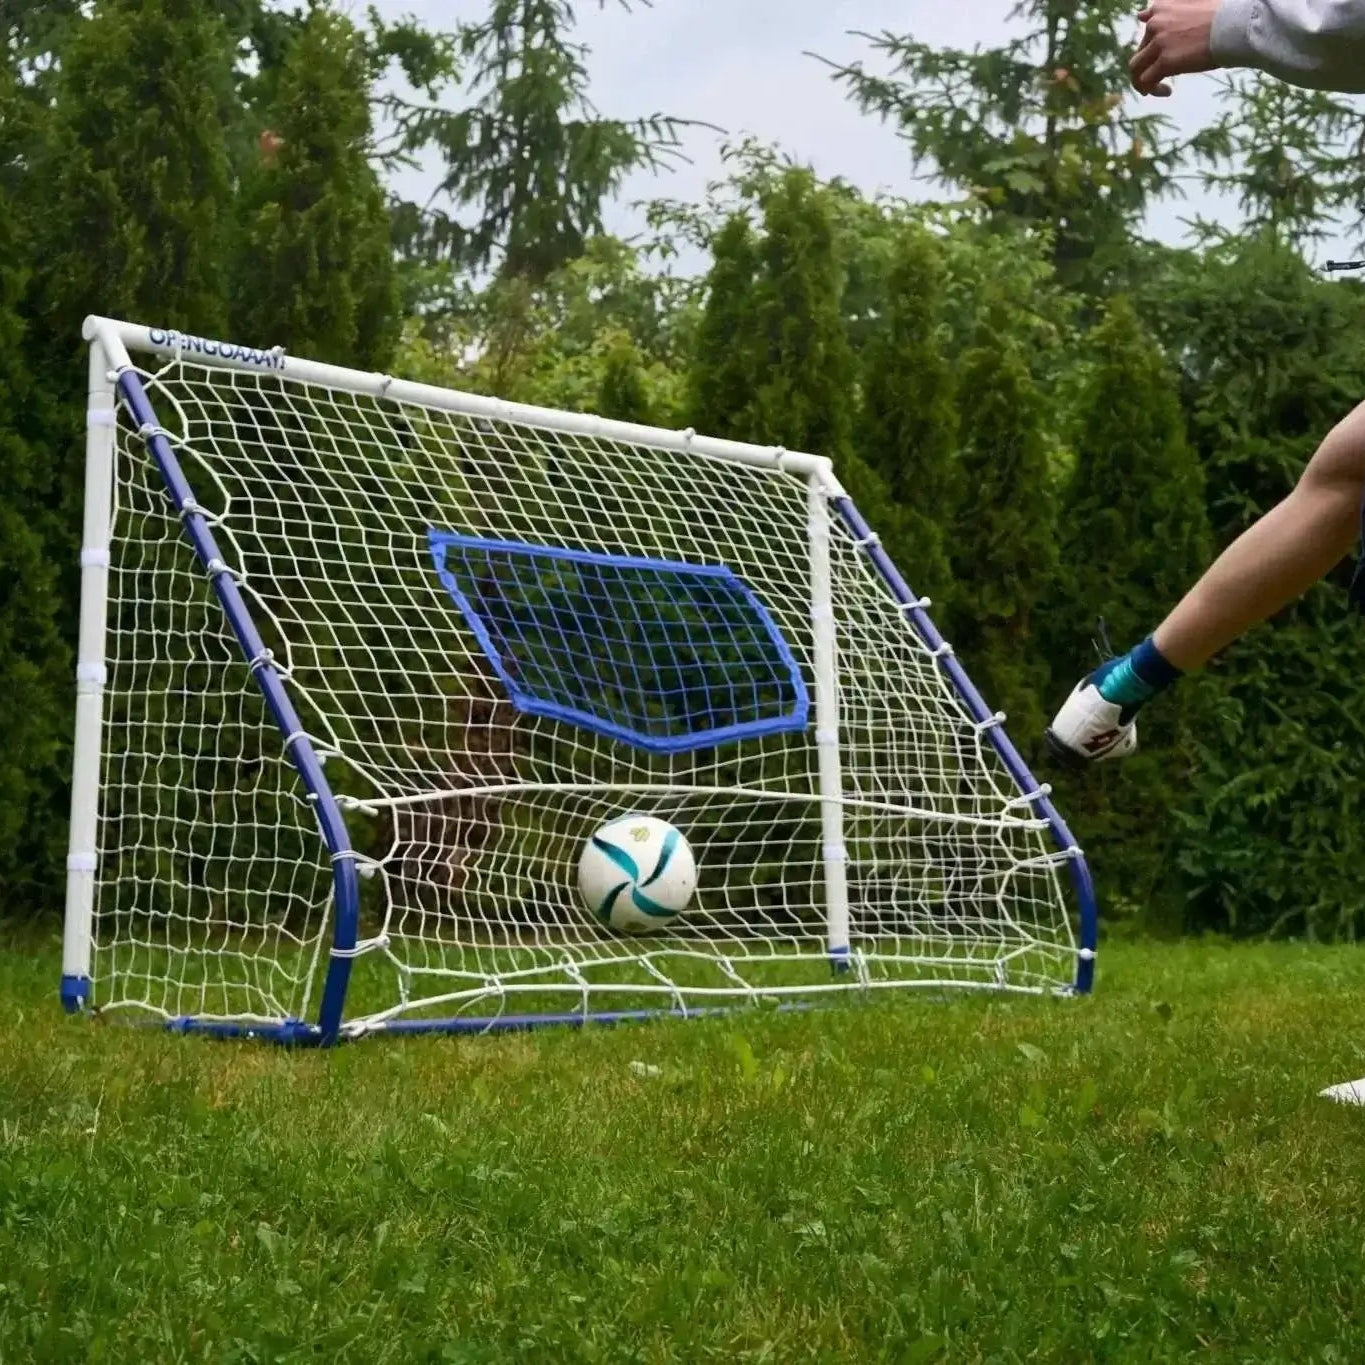
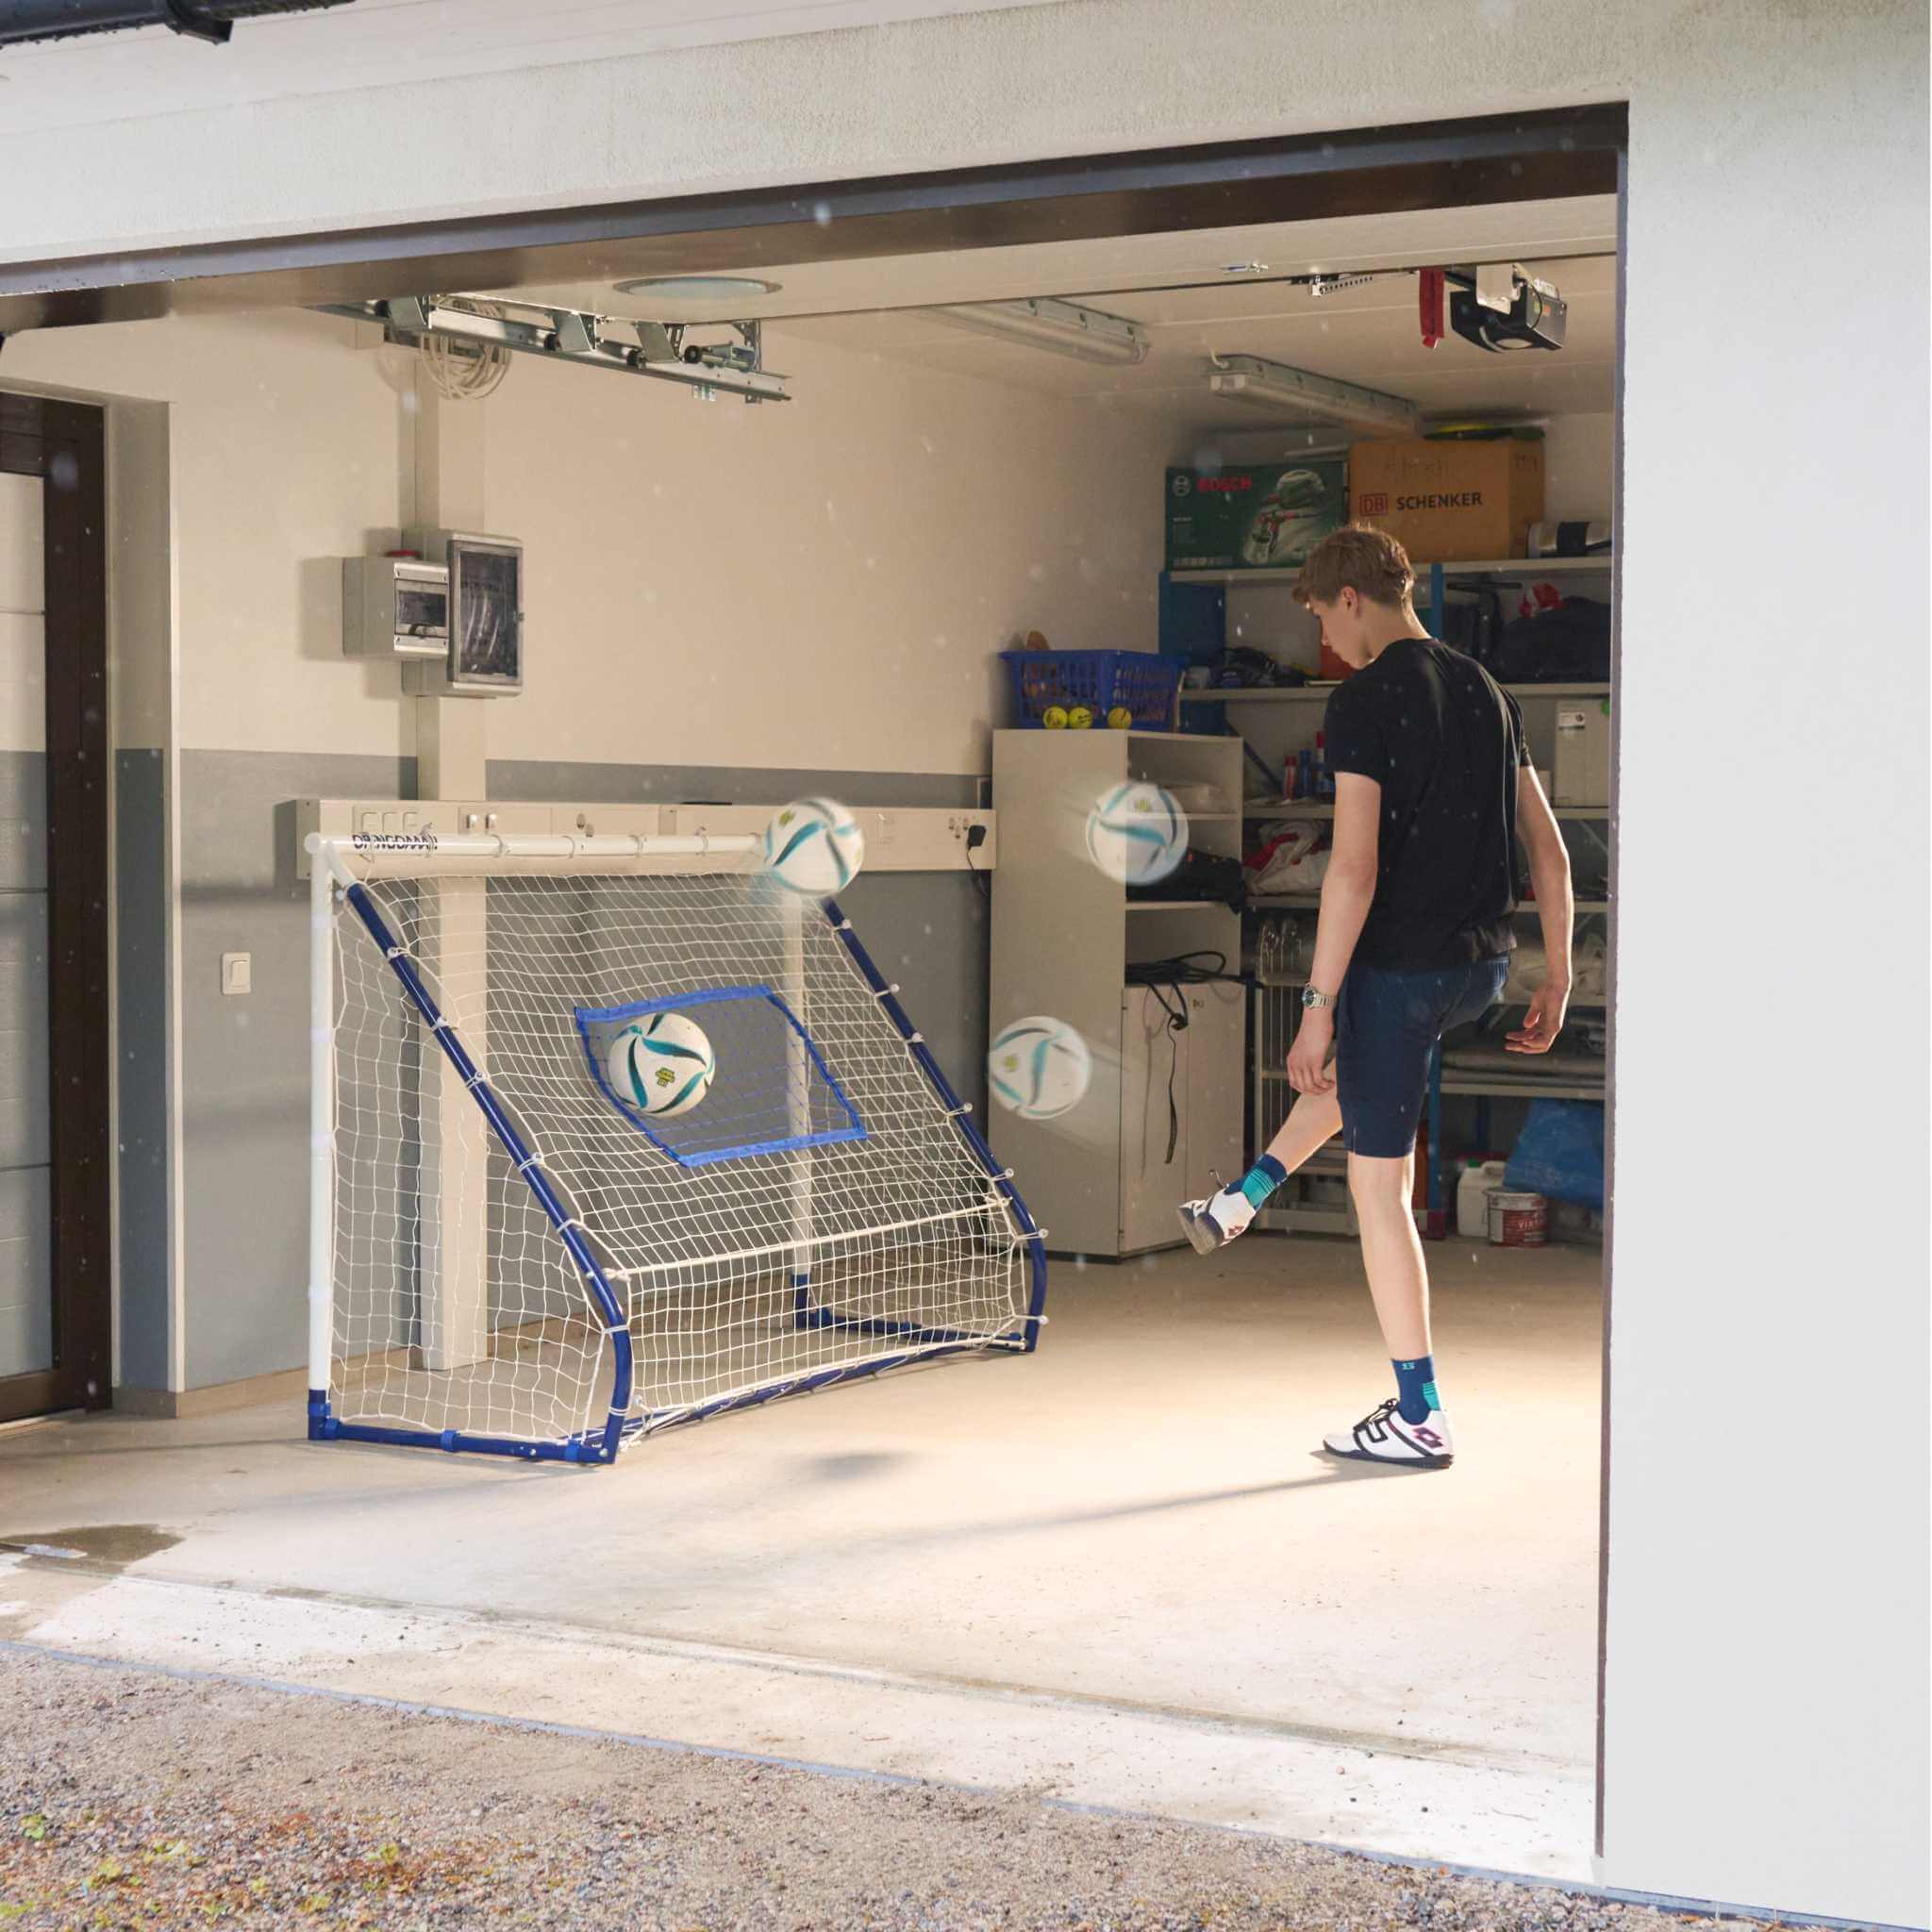
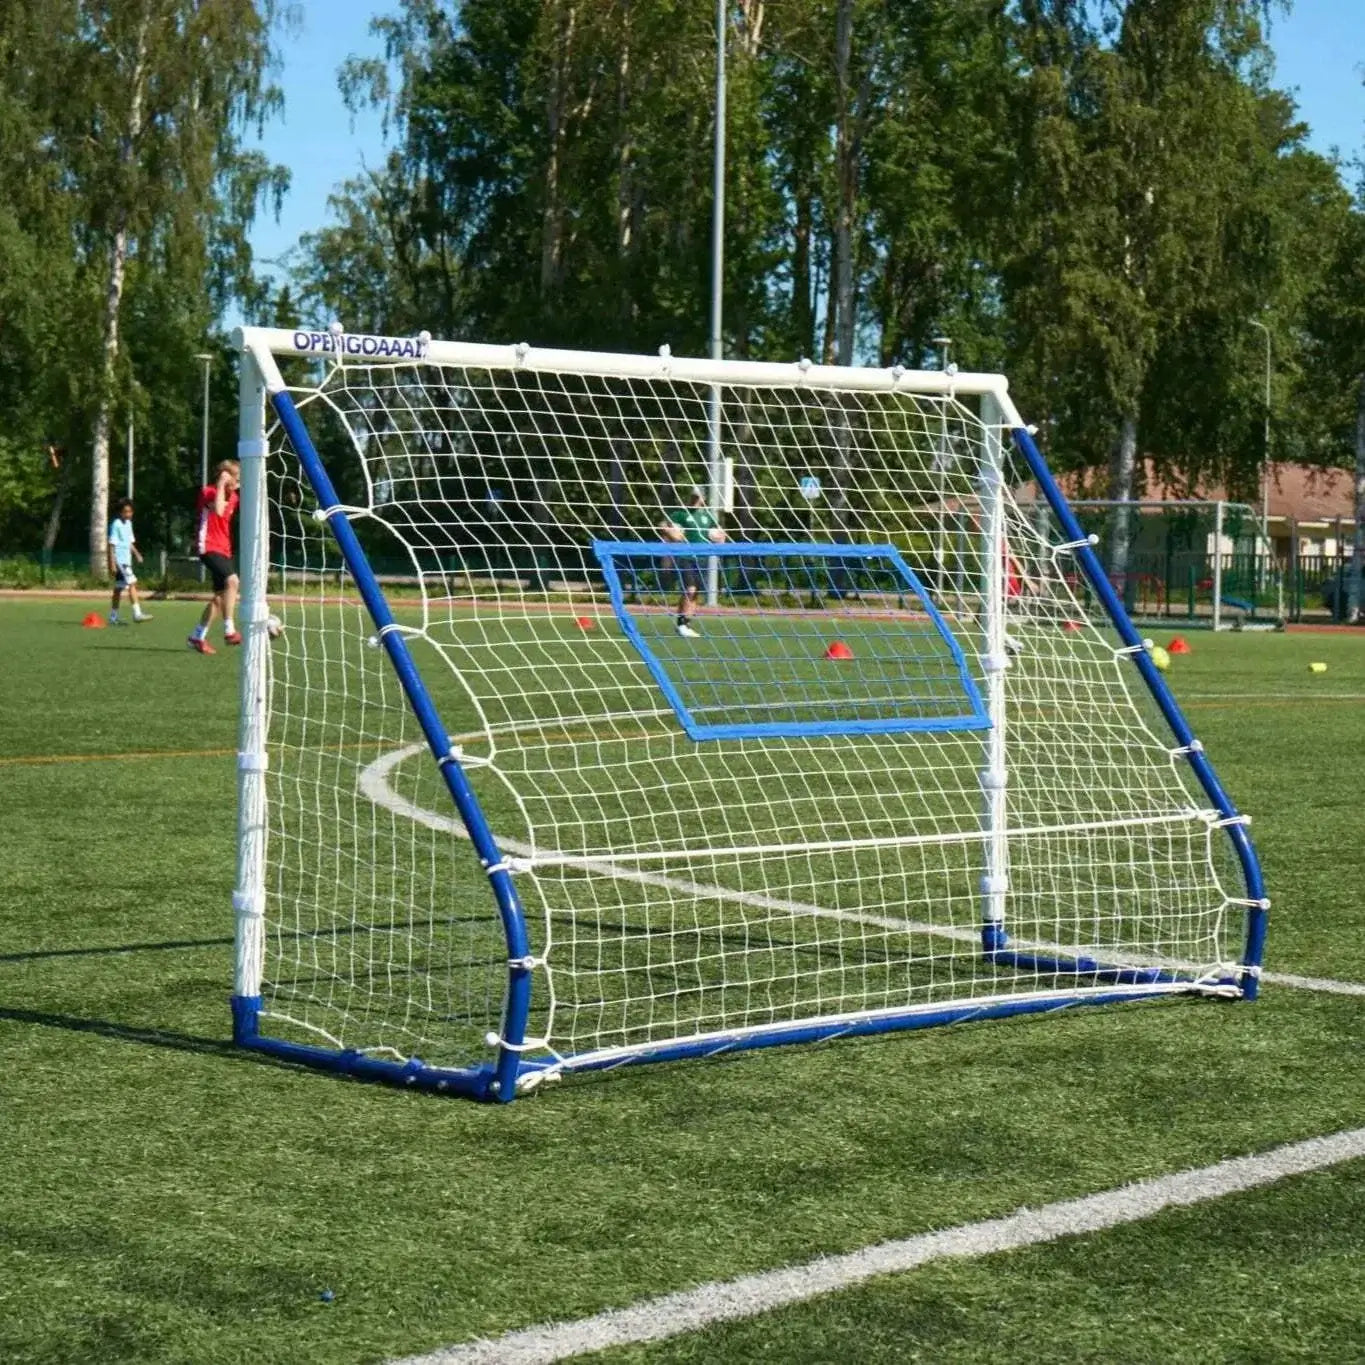
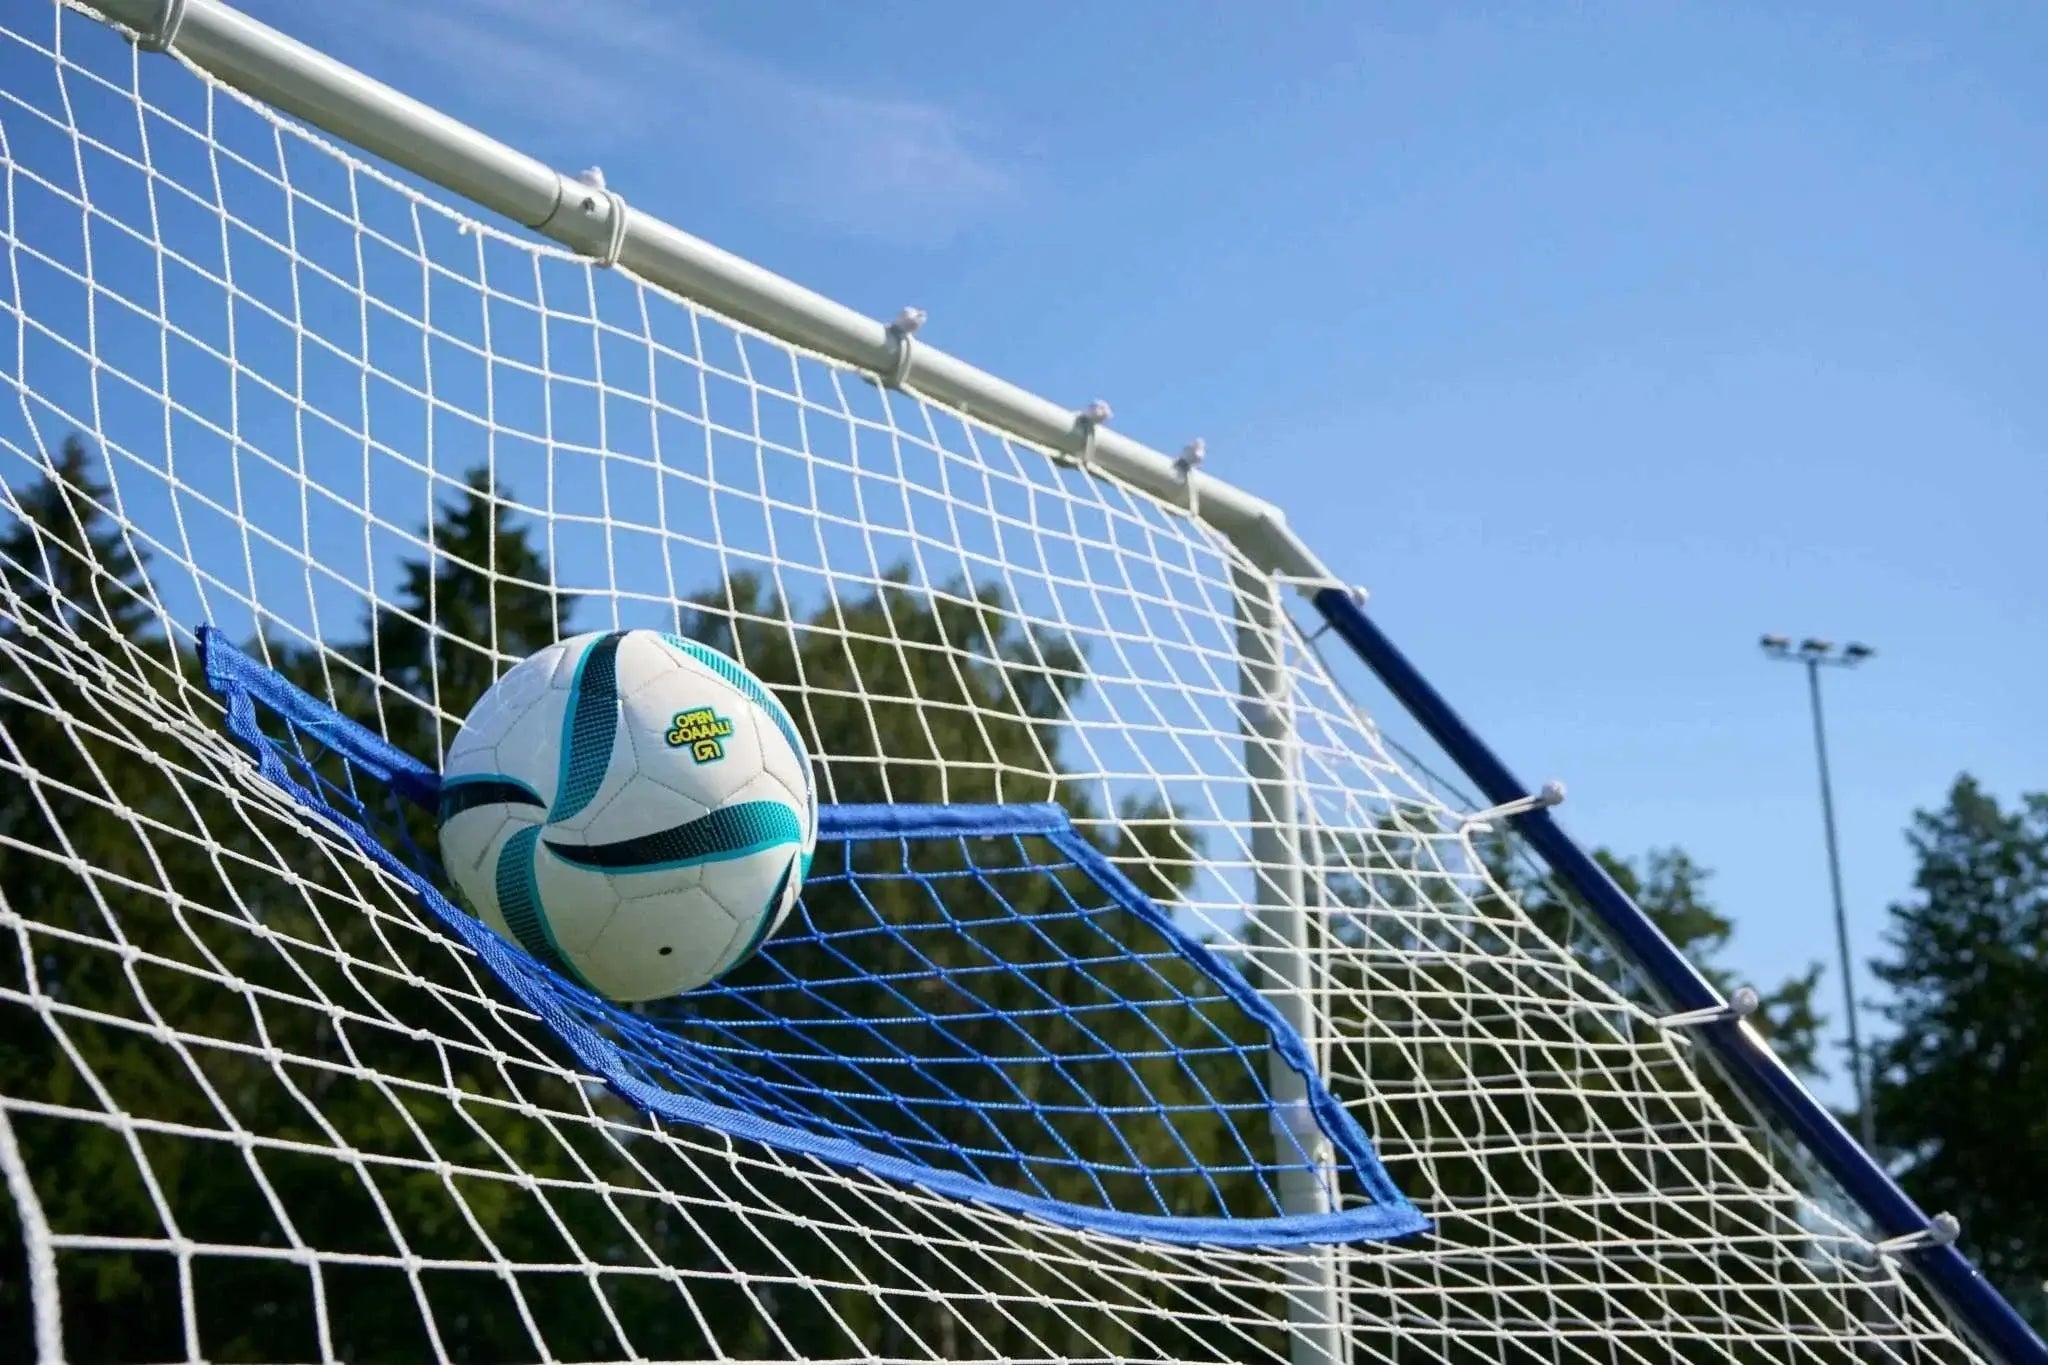
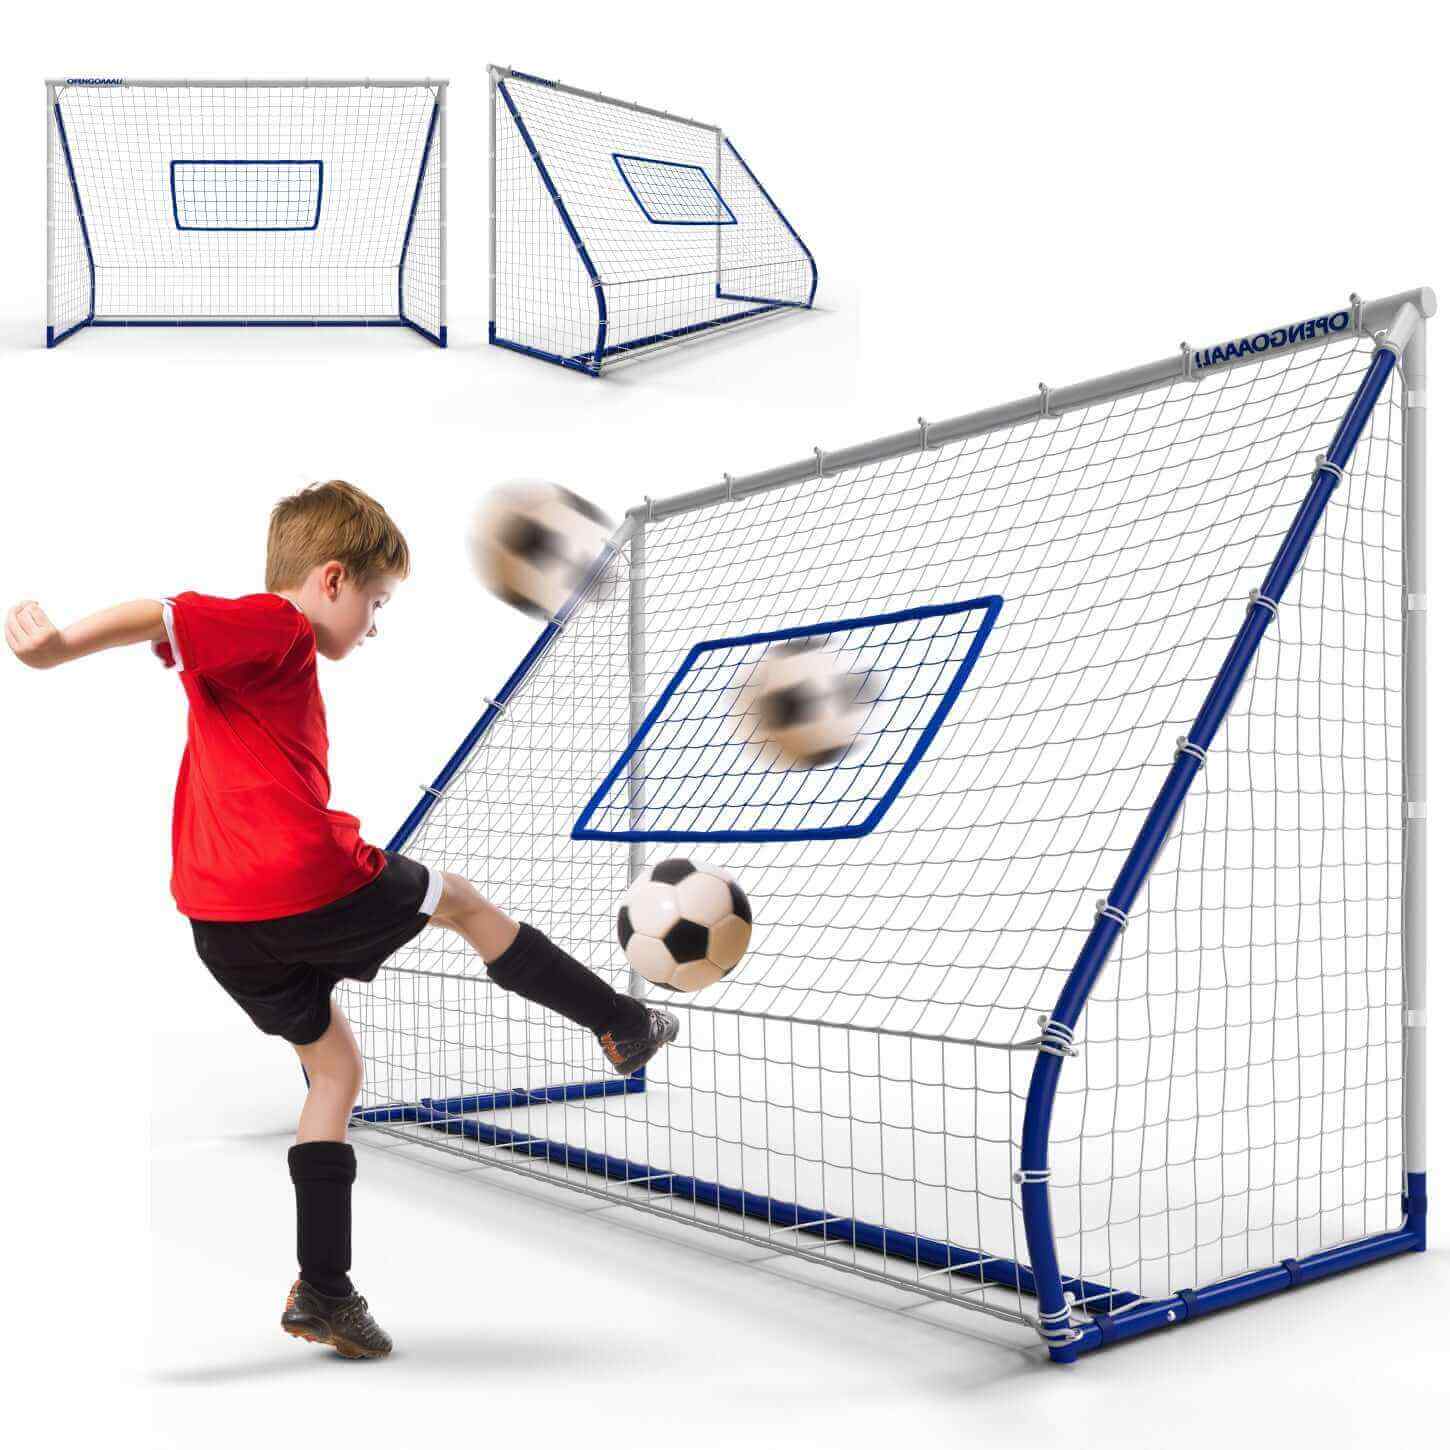
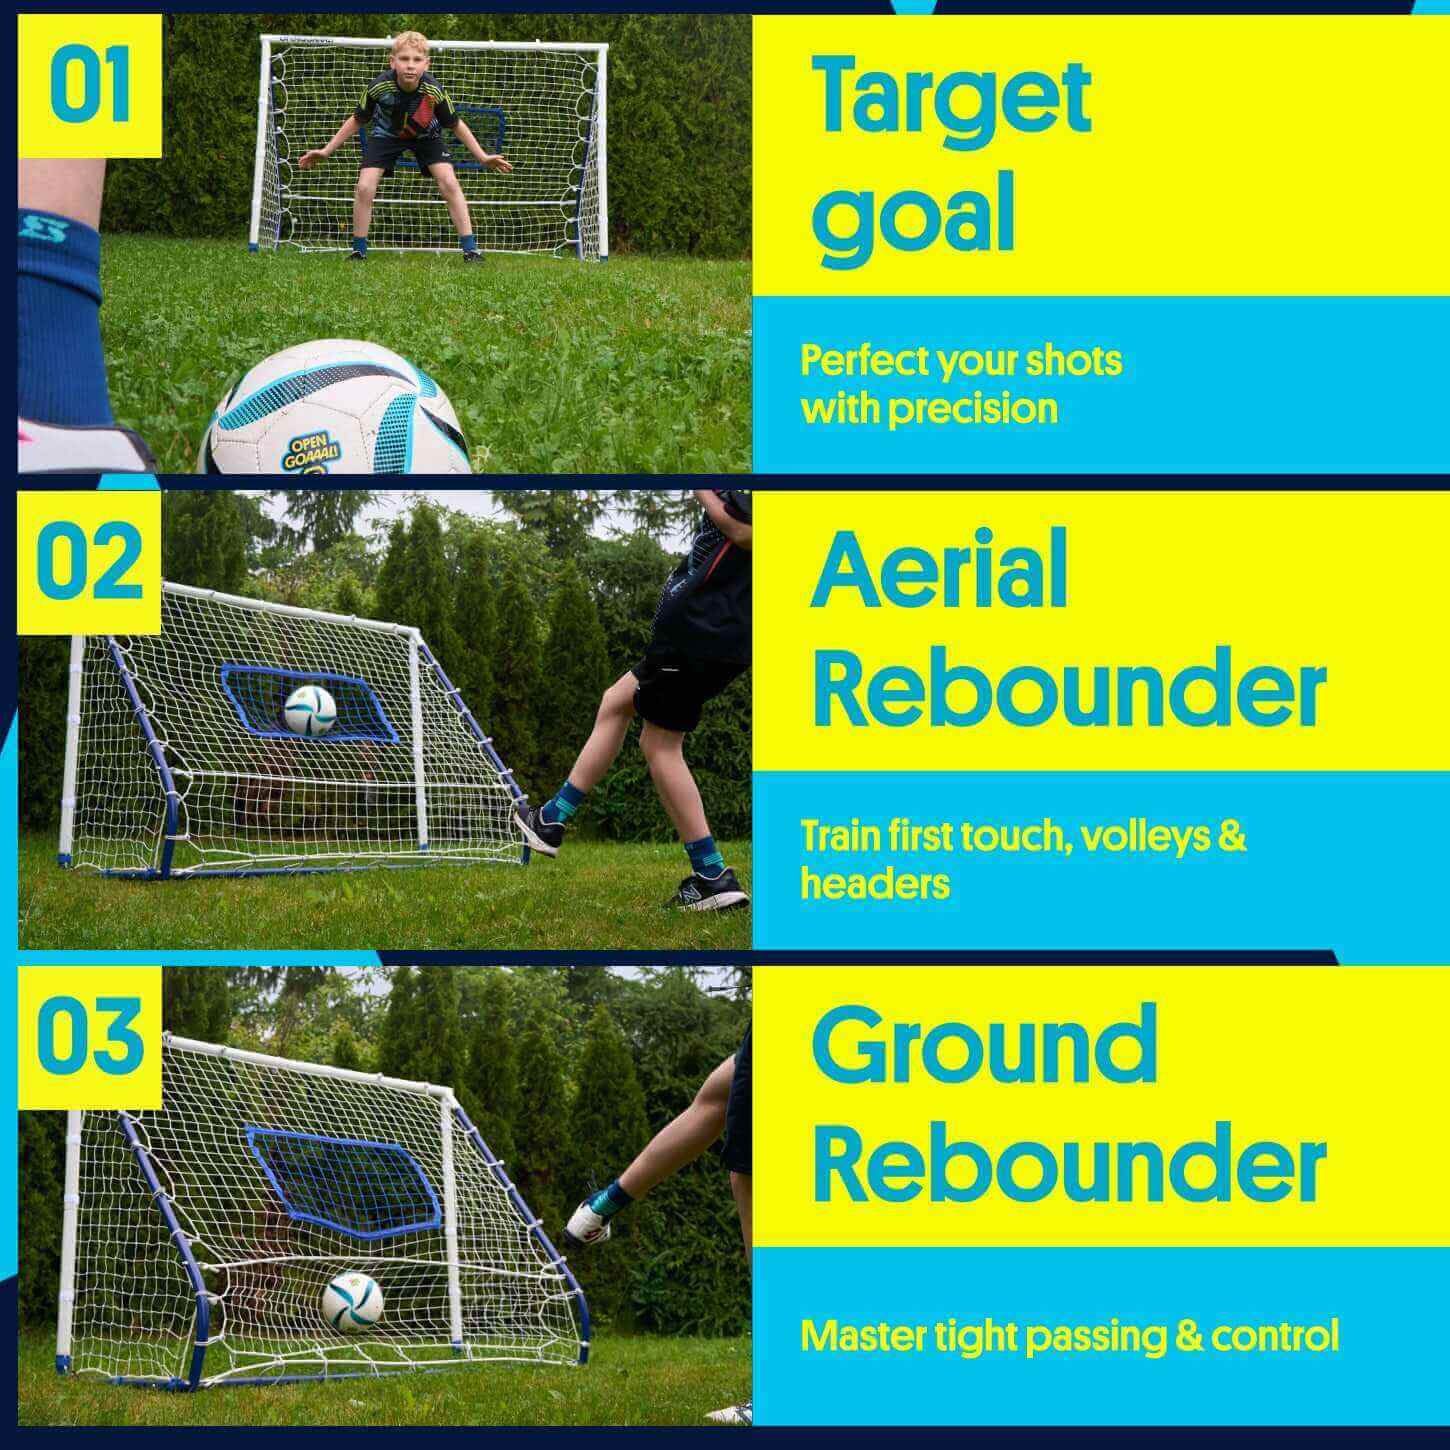
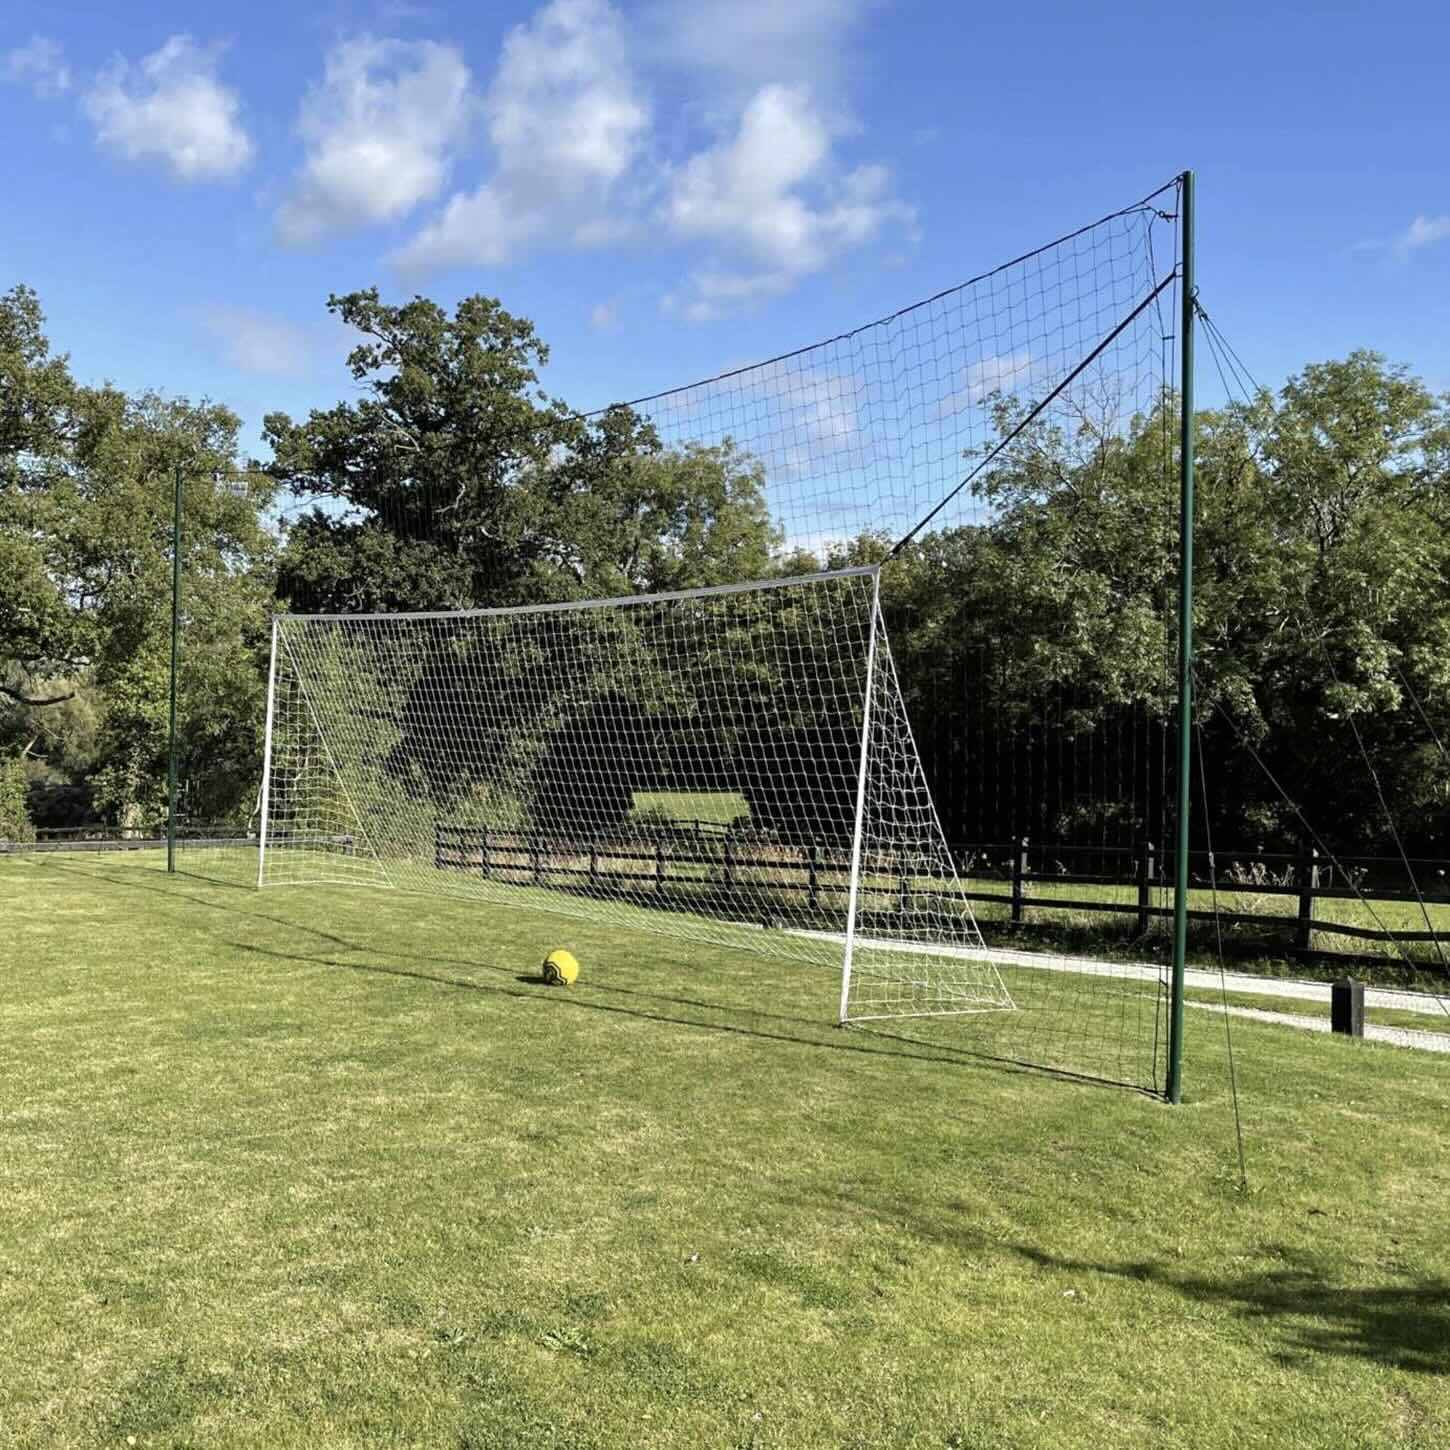
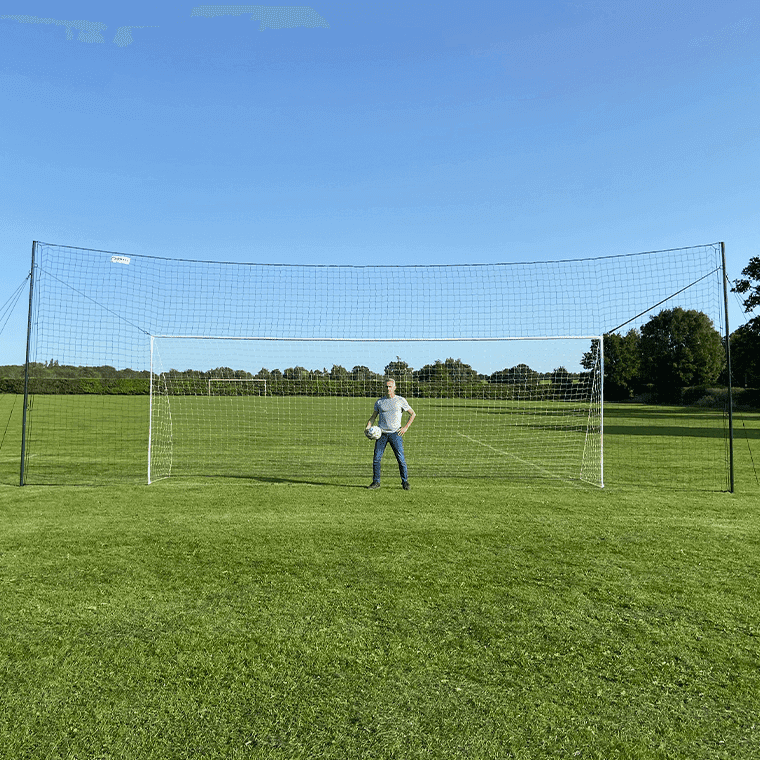
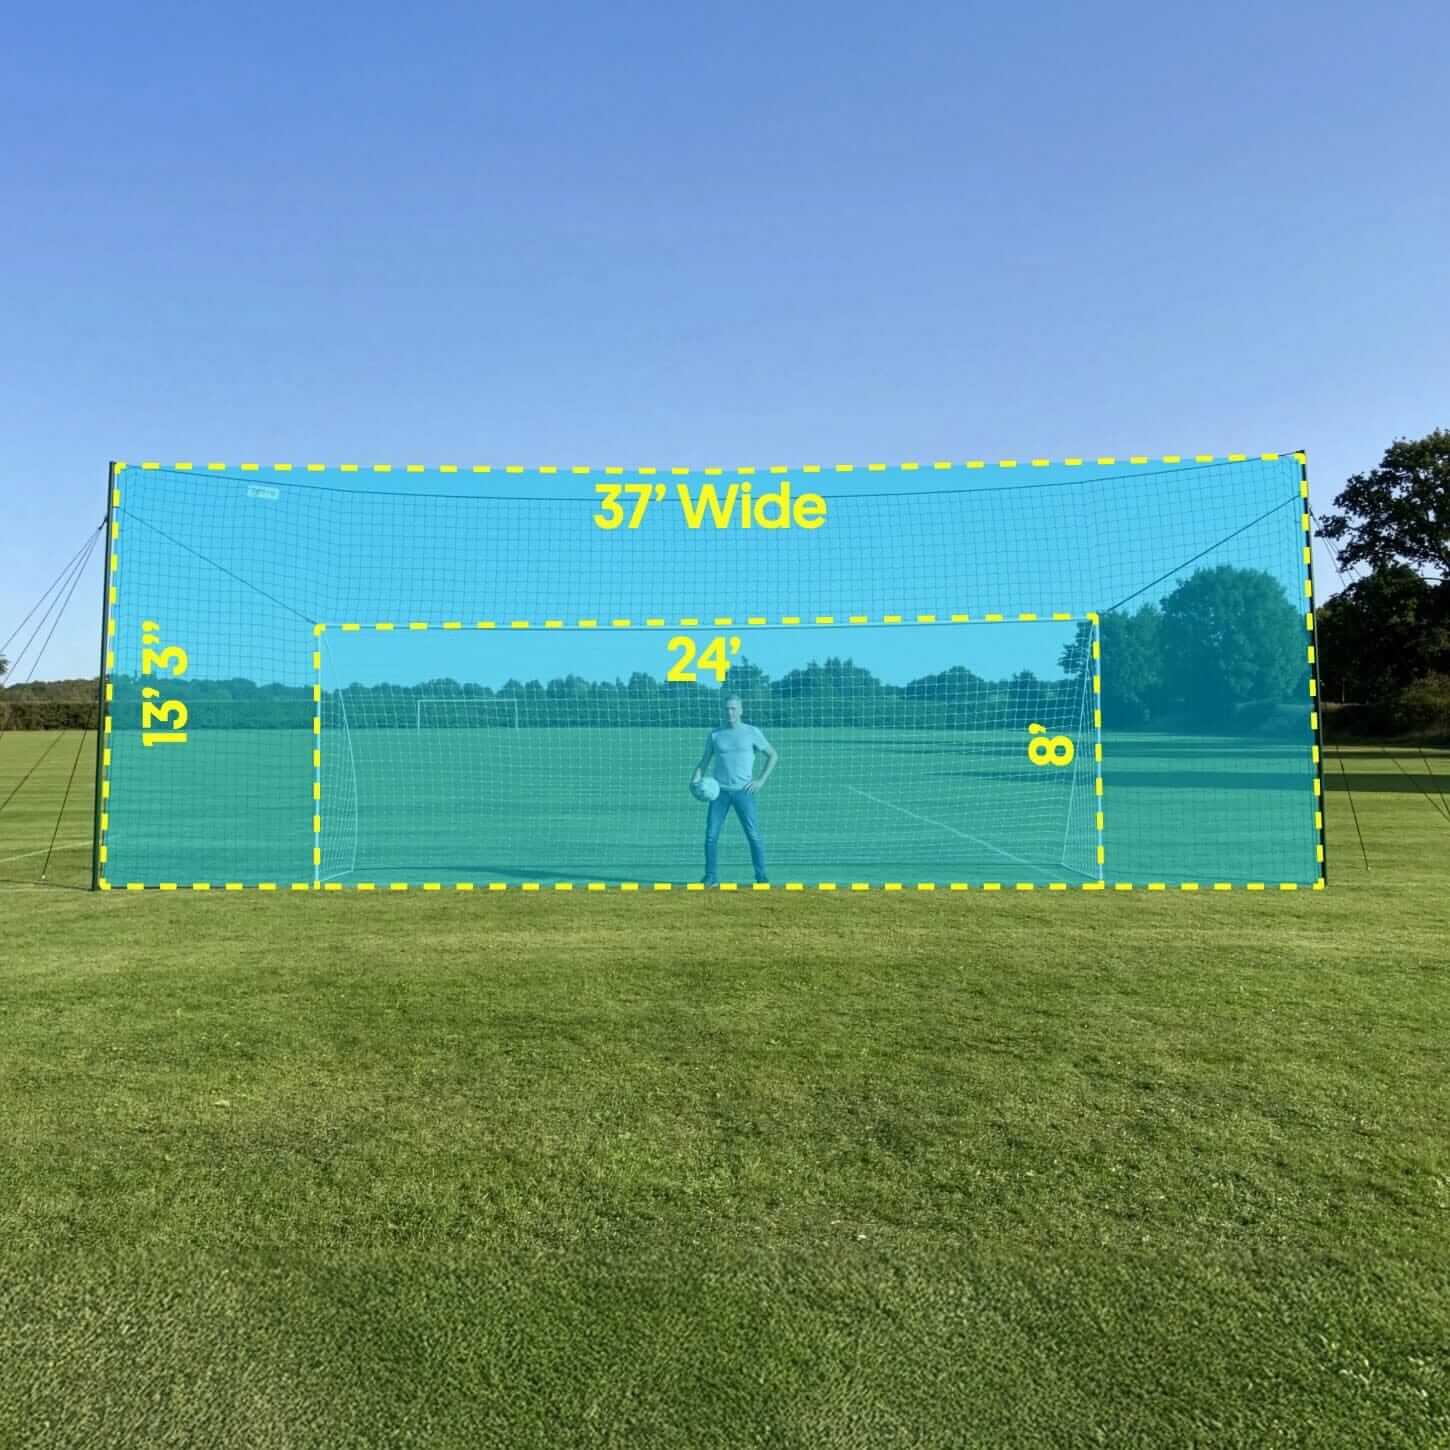
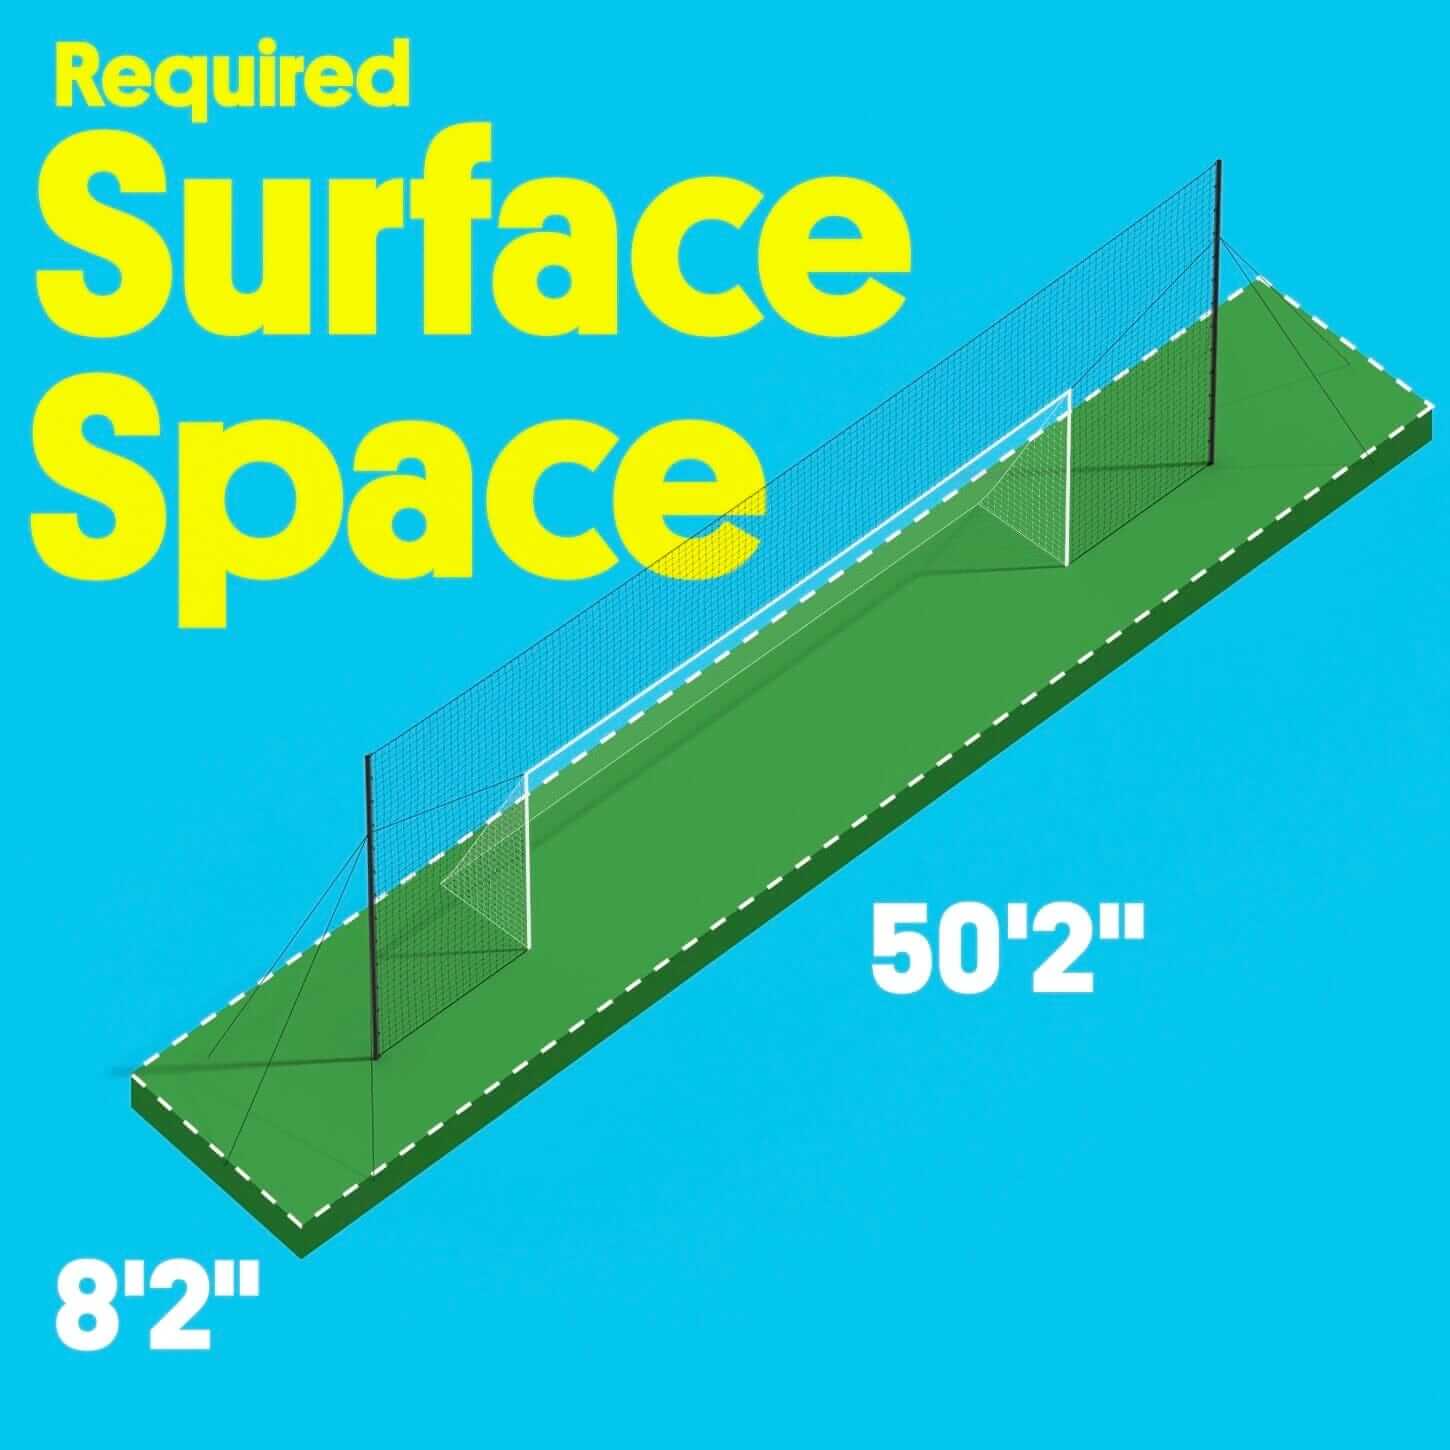
Practicing both at home and with the team are crucial elements to becoming a successful Soccer player, and no matter whether you are just beginning, or a seasoned tournament veteran, it is important to maintain daily touches on the ball. If you are interested in a soccer goal that has a built-in backstop + rebounder, check out our most popular Open Goaaal! Below are ten of the best drills to consistently improve your skills:
1. Toe-Touch
What you will need: Ball

One of the easiest and widely-used drills in Soccer, Toe-Touches help to improve balance and coordination with the ball without requiring a large space. They are a great way to work on ball control no matter whether you’re at home or the field. Toe-Touches are exactly what the name explains- touching the ball with your toe while taking turns on each foot. After some practice, the goal is to ensure that the ball does not move from its designated spot while doing the drill, but it is normal for players/balls to move around when first trying. Many coaches tend to use Toe-Touches as a warm-up, but may also use them in practice as a way to have friendly competition by seeing which player can perform the most Toe-Touches in a given amount of time. They are one of the most versatile drills that any type of player can try.
2. Juggling
What you will need: Ball

Juggling is likely Soccer’s most popular drill, as it can be done without another player and does not require a large space so it can easily be done at home. However, unlike Toe-Touches, Juggling involves vertical/lateral movement and requires a fair amount of practice to “get the hang of”. Many players, though encouraged by coaches to do so, are not formally introduced to juggling at practice, considering it is far more of a singular drill that players do in their own time. So, with this in mind, mastering Juggling shows an effort of self-discipline, and dedication to the sport. It is one of the best ways to improve confidence in a player if done correctly. Coaches tend to have players juggle before warm-up or occasionally at practice as a way to see if players have dedicated themselves to improving their numbers and will also have similar competitions to those done with Toe-Touches as a way to create motivation. If you really want a challenge, mix up the soccer ball sizes you use for juggling!
3. Inside-Outside Cone Drill
What you will need: 6 Drill Cones, Ball

There are innumerous ways to create Soccer drills using cones, but one of the most introductory patterns is the Inside-Outside configuration. For setup, a ball and 6 Drill Cones set equidistant from each other in a vertical line are needed. The space between each cone can be somewhat big when first trying this drill, but it is common for players to minimize the spaces between the cones to improve touch. Once the setup is finished, players should go through the cones by touching the ball once with the outside of their dominant foot , ending next to the first cone. Once there, touch the ball inward between the first and second cone using the inside of the foot, ending on the other side of where they began. Repeating this motion of moving inside-outside each cone using the dominant foot until the last cone results in the end of the drill.
Many times, once this drill is mastered, a similar drill using both feet is introduced. See Drill 4. You can also check out some of these soccer dribbling drills.
4. Inside-Outside Left and Right Drill
What you will need: 6 Drill Cones, Ball
Much like Drill 3, this drill involves using the inside and outside of the foot, except this drill uses both feet interchangeably. It may seem complex at first, but with some practice it becomes an invaluable skill that can be used on the field at any moment. To perform this drill, the same 6-Drill-Cone layout as Drill 3 can be used (6 equidistant cones in a vertical line); and , once setup, can begin the same way as well. Once the player has used their dominant foot to reach the first side of the first cone, a new step is introduced which involves passing the ball from one foot to the other using the inside of the foot. Then, using the outside of the second foot, the player pushes the ball to the side of the second cone and repeats the process until they have reached the end of the cones. This drill is a great way for players to build upon acquired skill, but is not recommended as a drill to be used as an introduction.
5. Trapping
What you will need: Ball
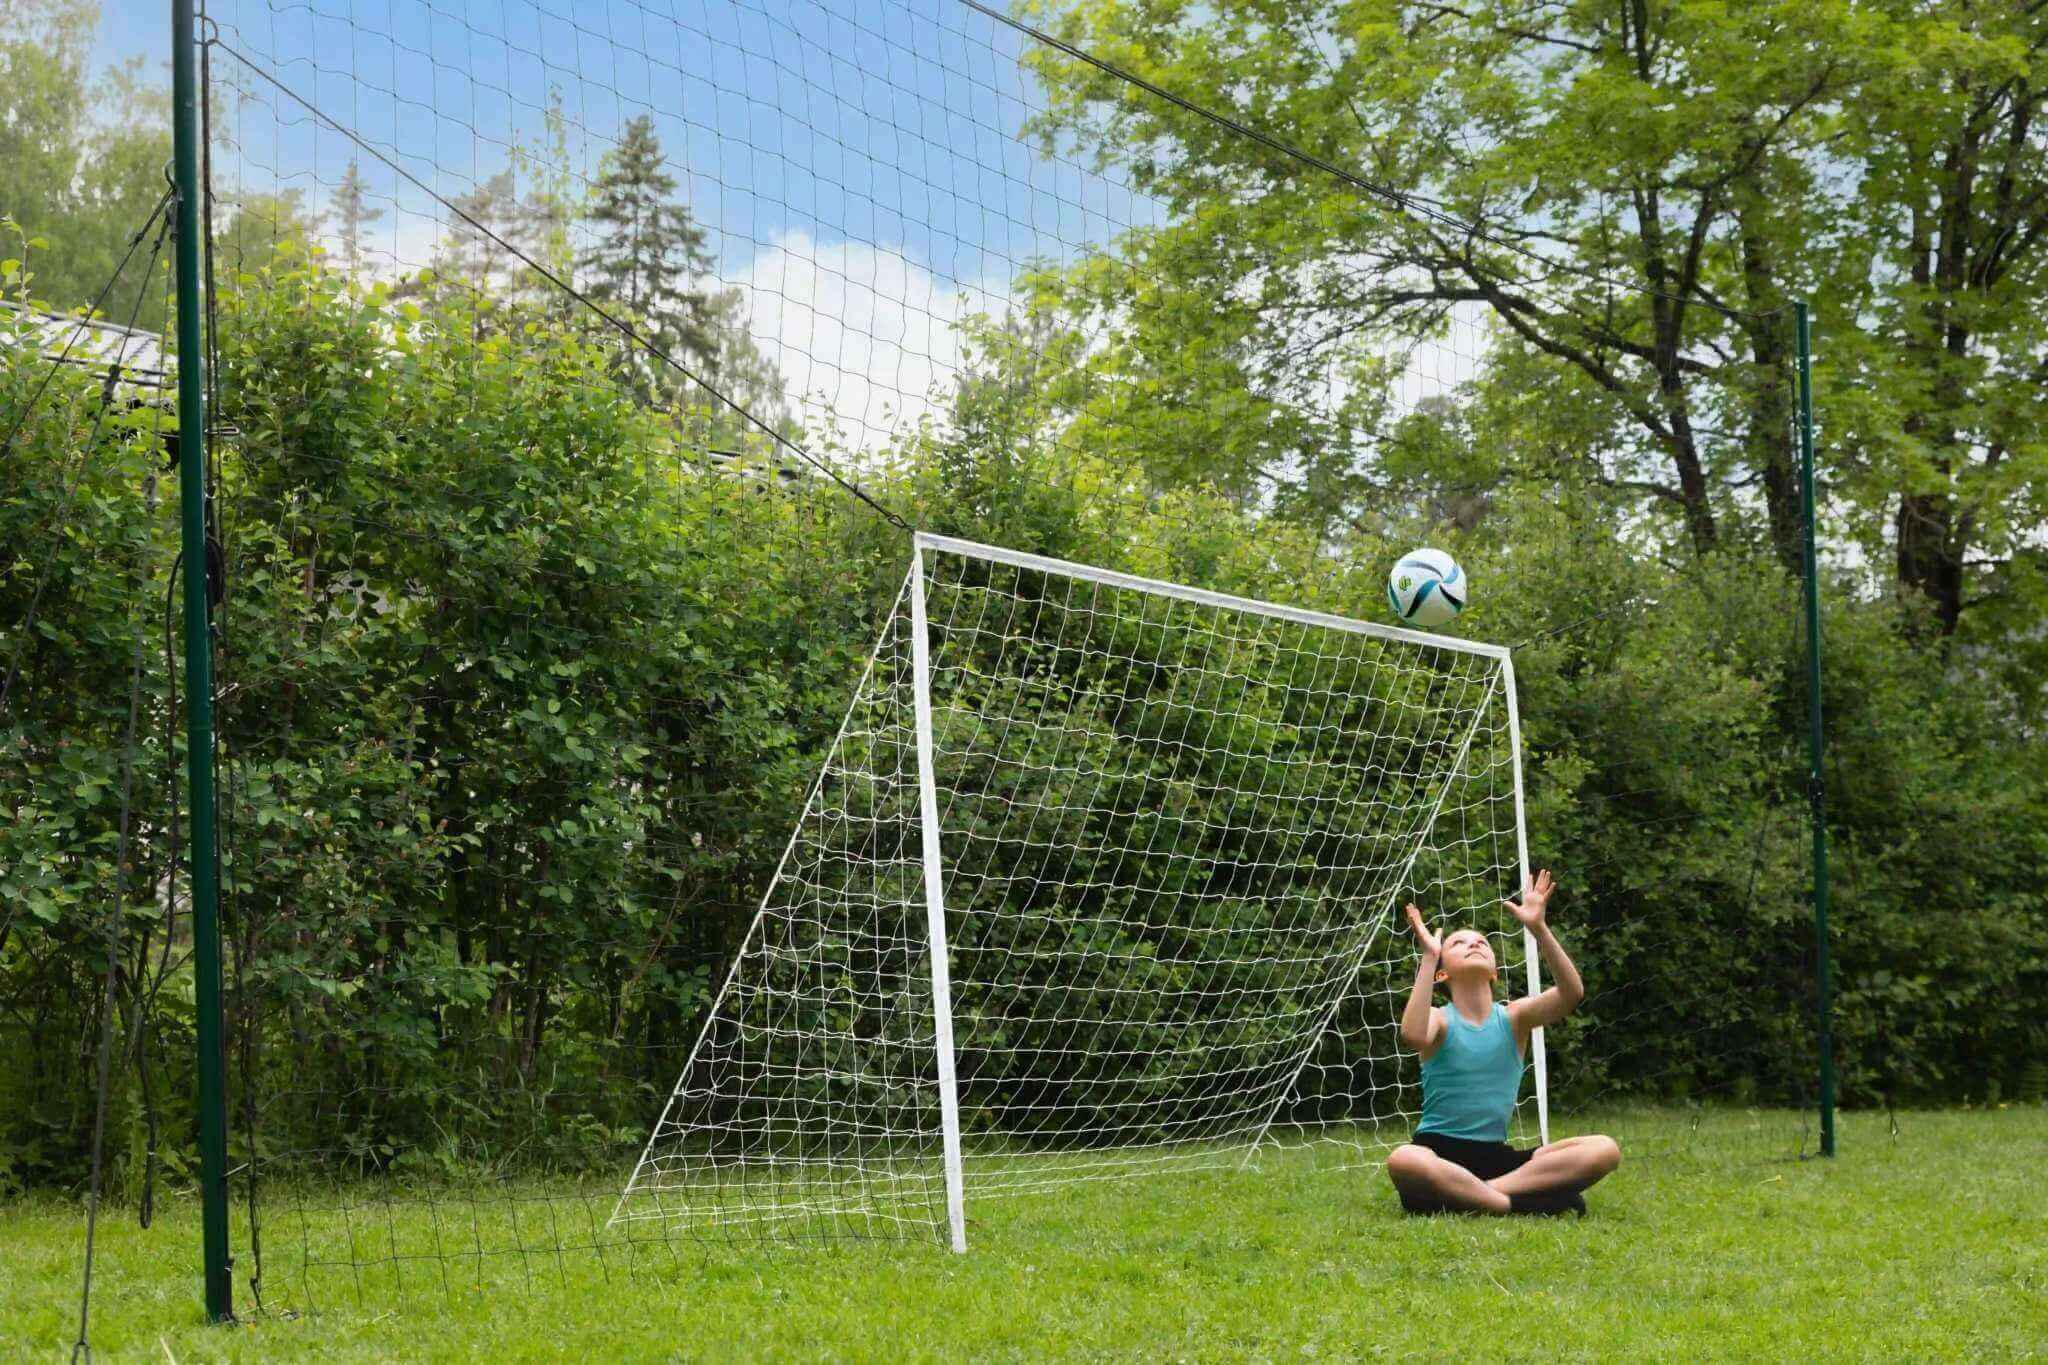
When a player traps the ball, it means that they have successfully gained control after receiving it from a teammate. This drill involves trapping the ball from the air, which can be beneficial for players who play on the wings of the field. This drill, though difficult to master, is quite easy to practice, as it simply requires throwing the ball into the air and gaining control of it as it falls to the ground.As a player practices, they want to begin trying to time their trap in sync with the speed of the ball so they do not lose speed when running. There are multiple ways to trap the ball using all parts of the foot, but it can also involve adding the knee, head, and shoulder. Ensuring that a player can successfully trap a ball in the air is crucial to having a good career.
6. Crossing
What you will need: Ball, 2 players, 2 Drill Cones
Crossing, a type of offensive pass in Soccer, is a great way to open up goal-scoring opportunities during a game. In short, a ‘cross’ is considered a pass in which the ball shifts from one side of the field to the other whether on the ground or in the air. For this drill, one player (player 1) begins with the ball at a cone while the other (player 2) stands at another cone laid about 20 yards from the other. When player 1 says the word “GO”, player 2 begins to run forward. After about 5 seconds, player 1 releases the ball , sending a pass to the running player, who should successfully trap the ball and return to the cone. After 3 rounds, the players should switch places. This drill can also be used in a team setting in which players switch after each round to allow for new pairs each time.
7. 1v1 Play
What you will need: Ball, 2 players
Players practice 1v1 to imitate the pressure of a real match. Although practicing personal skill helps to improve a player, there are many factors that only a game setting can provide, and it is key that players are used to the types of defensive and offensive pressures a game brings. Thi drill involves having two players, standing next to cones set 10 yards apart from each other. One player begins with the ball, and passes it to the other who ,in turn, tries to get past them and win the round. There can be different levels of physicality involved as an approach to practice either fully-defensive or offensive tactics, as well as different numbers of players involved (2v2,3v3).
8. Headers
What you will need: Ball, 2 players

Practicing headers is not recommended for inexperienced players as it requires using the head to direct a ball. To execute this drill, two players will begin by standing in front of each other, one holding the ball. The individual not holding the ball will take five steps backward while facing in the same direction. While holding the ball, the first player will toss it up lightly in the direction of their teammate who must use their head to hit the ball. This drill can be tailored to offensive and defensive headers, as seen in Drill 9.
9. Offensive + Defensive Headers
What you will need: Ball, 2 players
Based on Drill 8, this drill uses the same setup, although the player without the ball will be directing the ball differently. There are two main types of headers: Offensive, where the ball is directed downward at an angle, and Defensive, where the ball is directed out and upward. To practice both types, the teammate who begins with the ball will shout out which type of header the other player should practice, ideally rotating between both types. After 5 rounds, the players will switch positions. This drill is versatile in terms of usage, as more experienced players will also use a cone as a target they must hit when practicing primarily Offensive headers. It can also be used with players moving at a pace.
10. Scrimmage
What you will need: at least 10 players, a ball, 2 goals

A successful scrimmage is one in which the players are given direction from coaches but also allowed to play freely. It is meant primarily as a way to imitate the pace and flow of a live game, but it is important for the coaches to pay attention and pause the game when an important tip or comment should be made to help improve overall team performance. In terms of setup, it should be a full Soccer field so players have practice in as similar a setup to their games as possible. Many times there may be slightly different rules such as negation of the offsides rule or throw-ins, but it is primarily the same idea. A scrimmage is the best way to put players’ skills to the test and to show areas in which the team should improve upon. Check out these agility drills to help prepare for cardio intensive scrimmages.
Final Thoughts

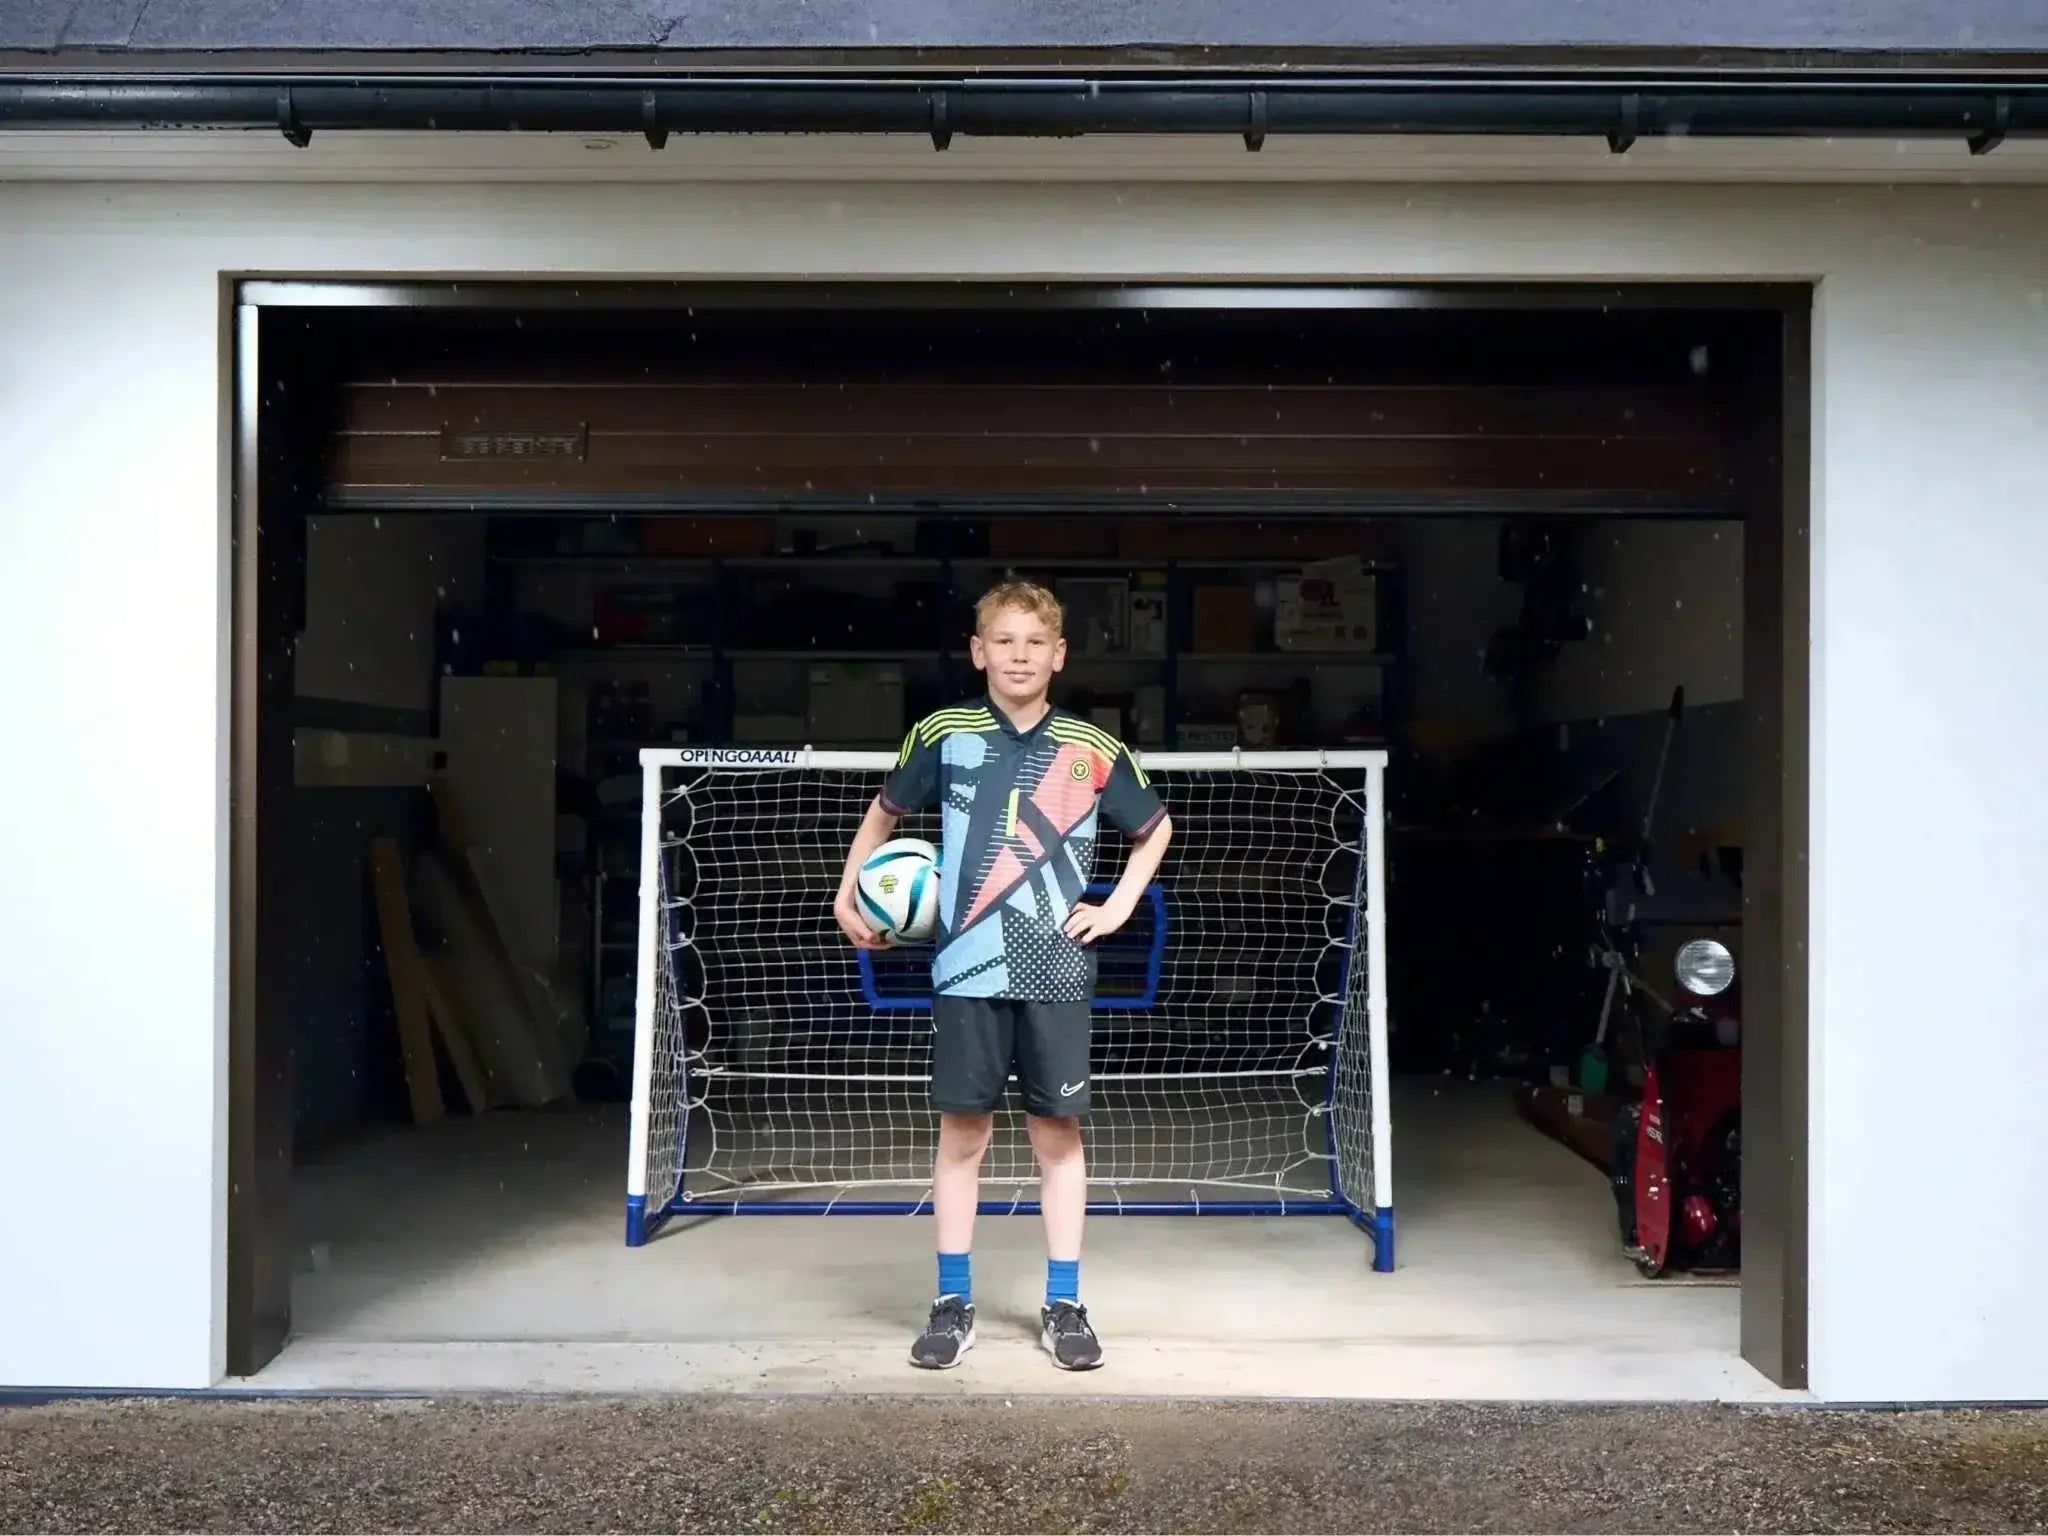
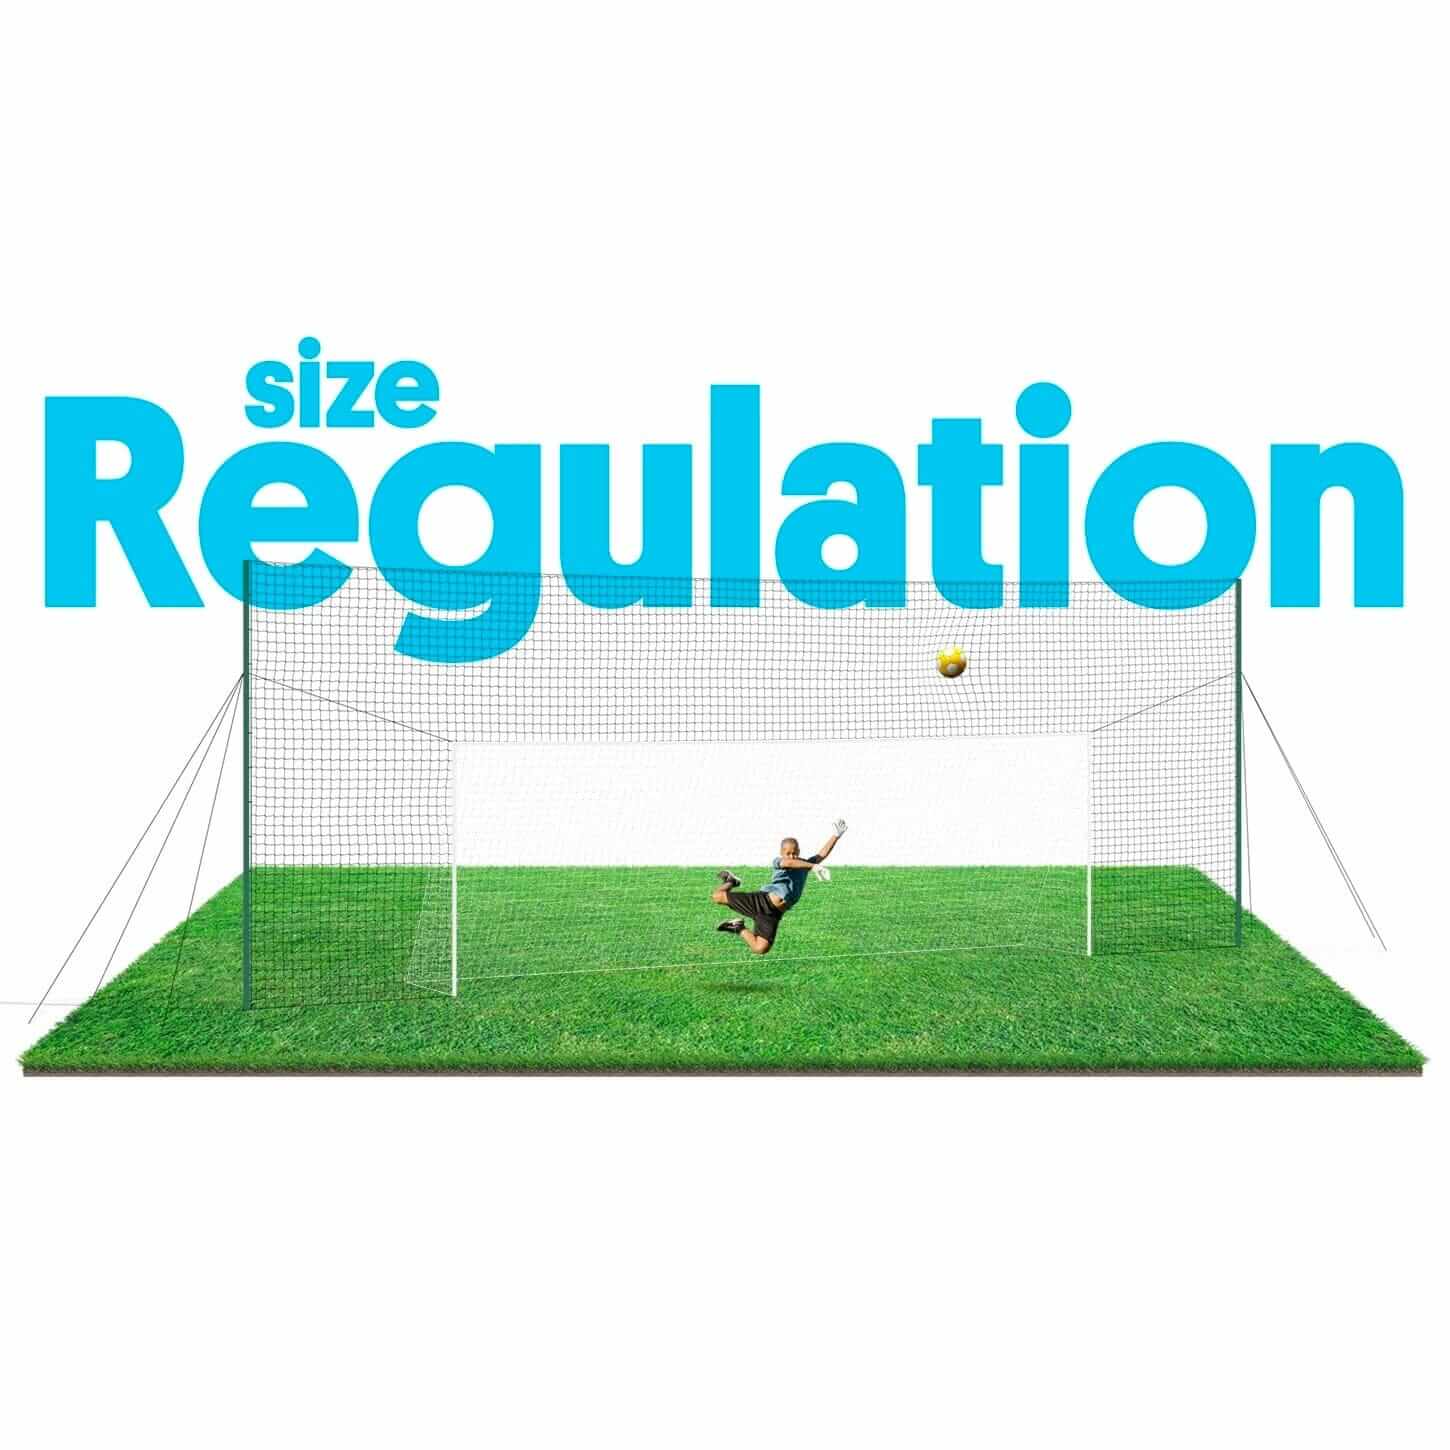
Consistency is key for long term skills development. Whether you are a youth soccer or the parent of a youth soccer player, remaining disciplined and sticking to it will pay off in the long term. Our primary mission at Open Goaaal USA is to help youth soccer players practice more at home without having to worry about breaking things, losing the ball, or having to spend too much time hopping over fences to get the ball back! That's why we developed the Patented Open Goaaal. Check out our selection of Soccer Goal + Backstop + Rebounder ALL IN ONE soccer training tools. Youth soccer parents around the world are loving Open Goaaal...check out the reviews here.


